

Notify me Via :
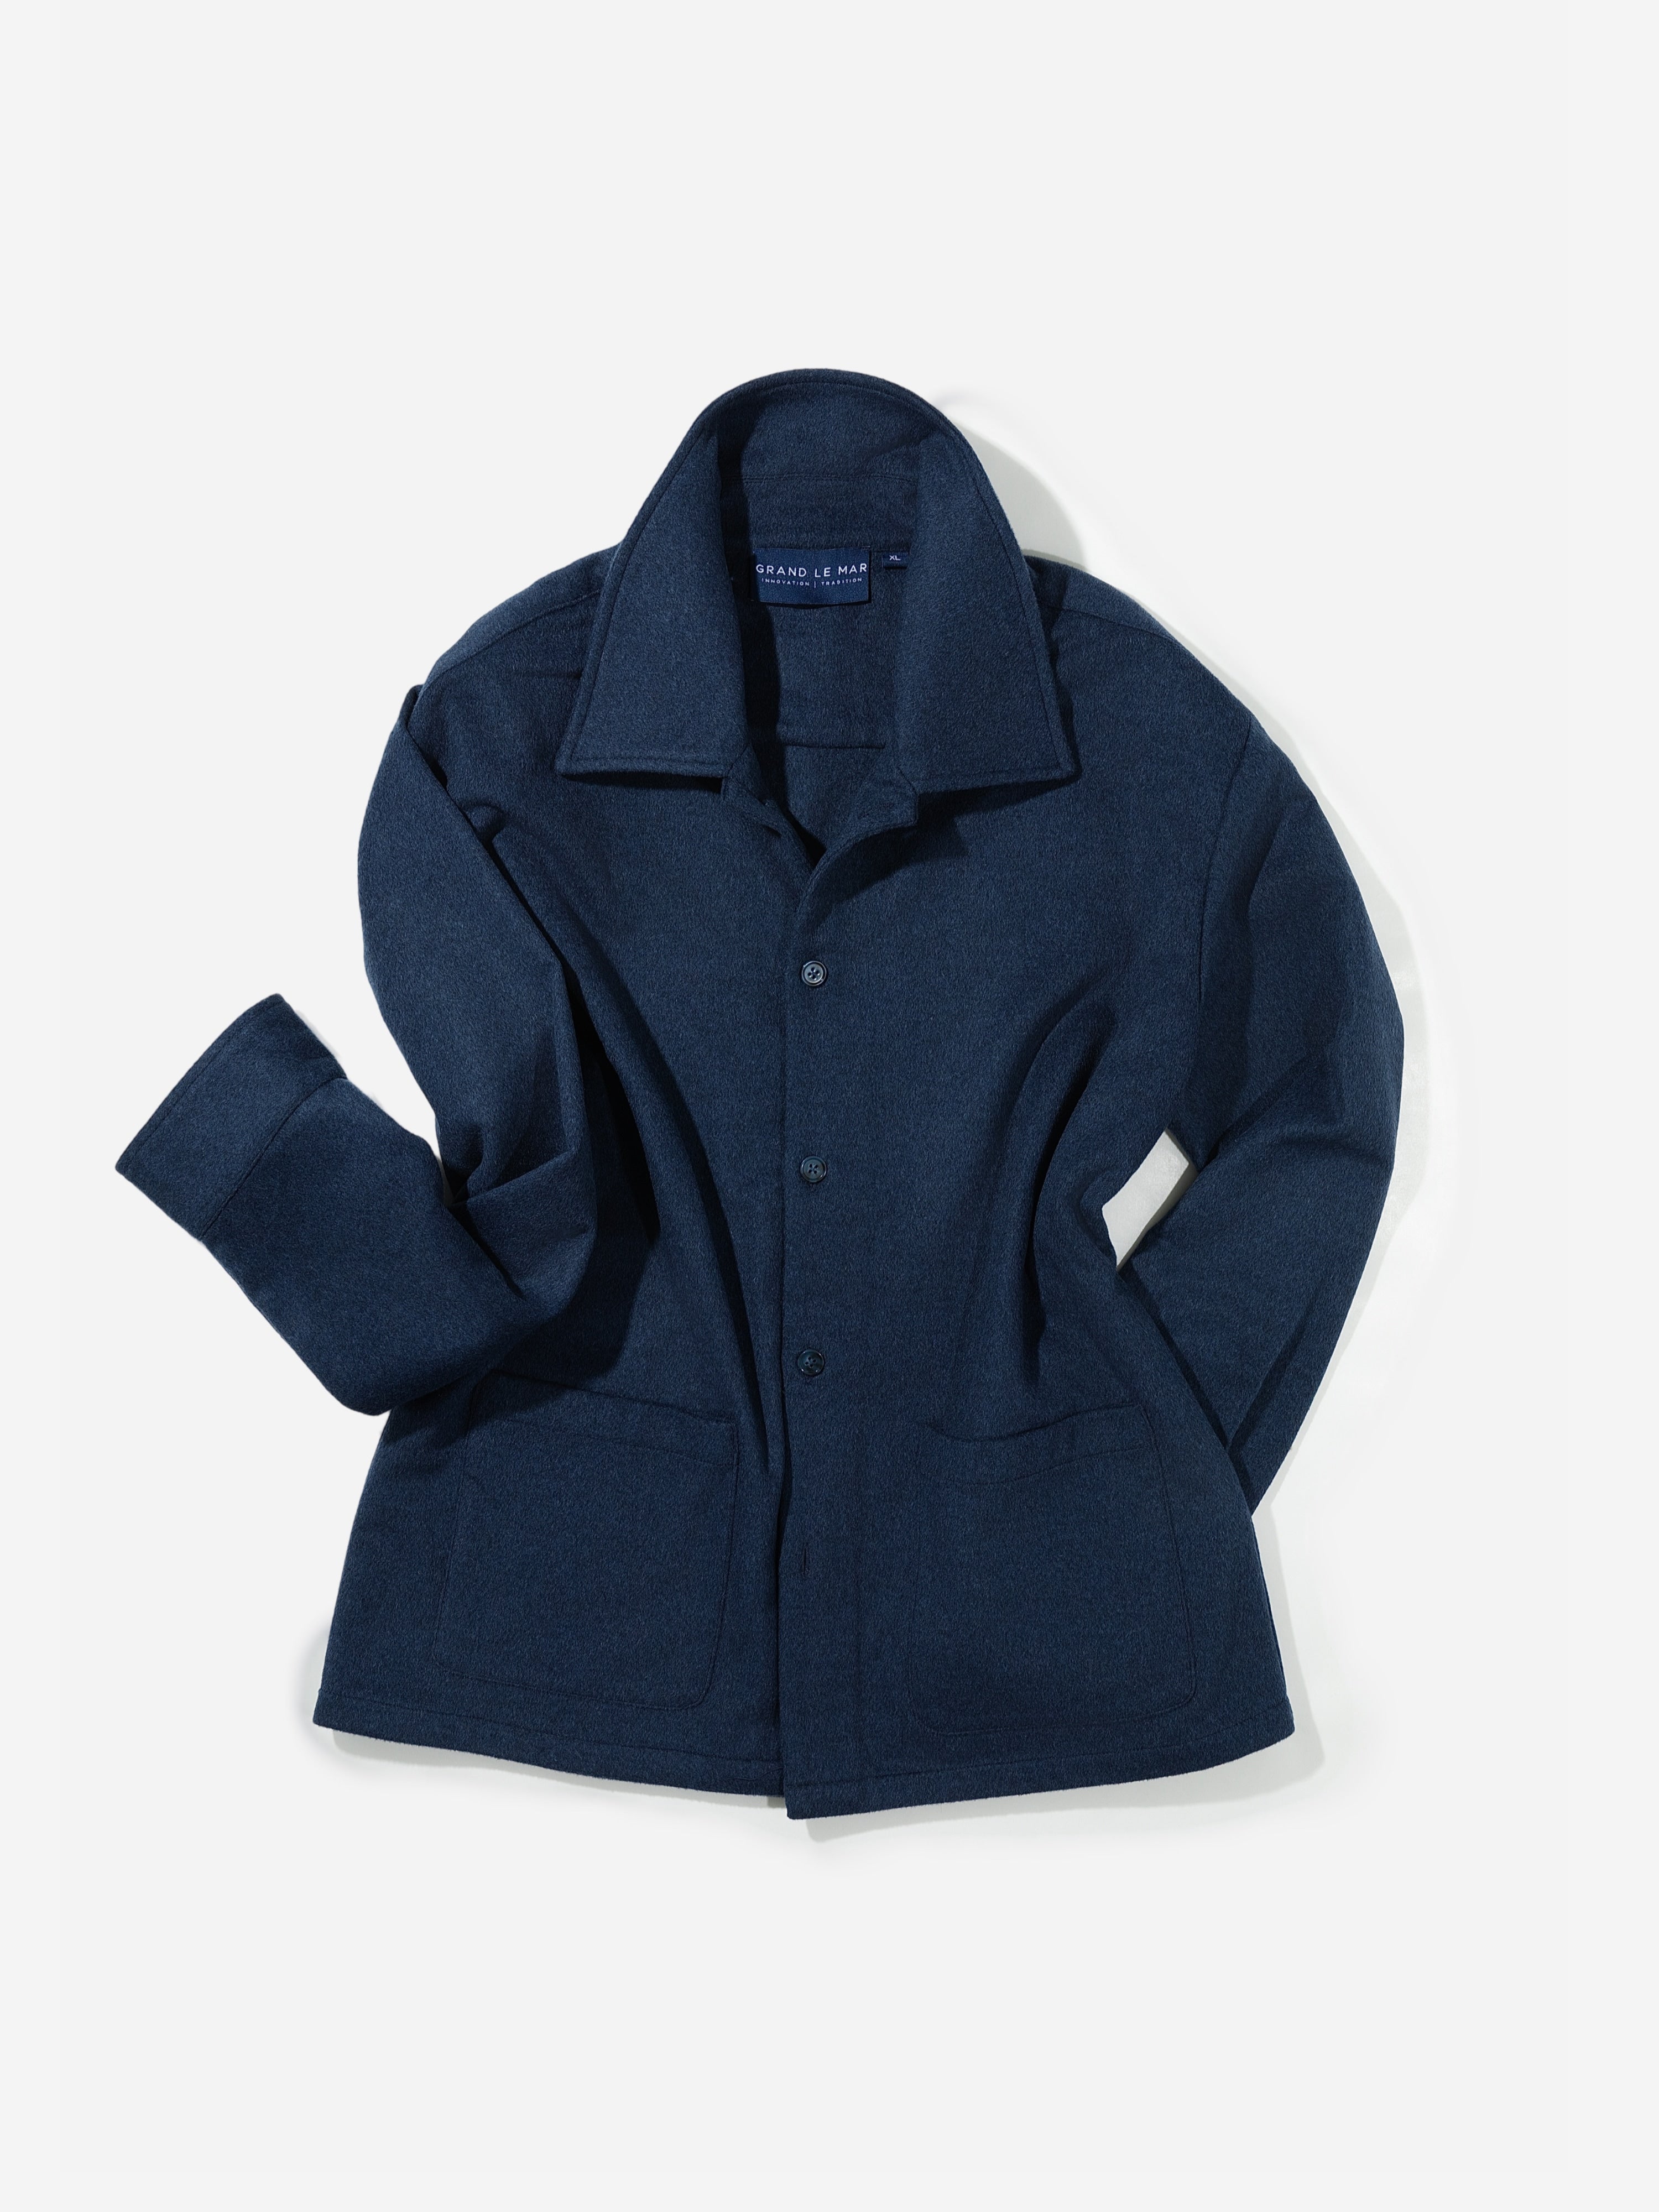
Navy Cashmere Wool Shirt Jacket
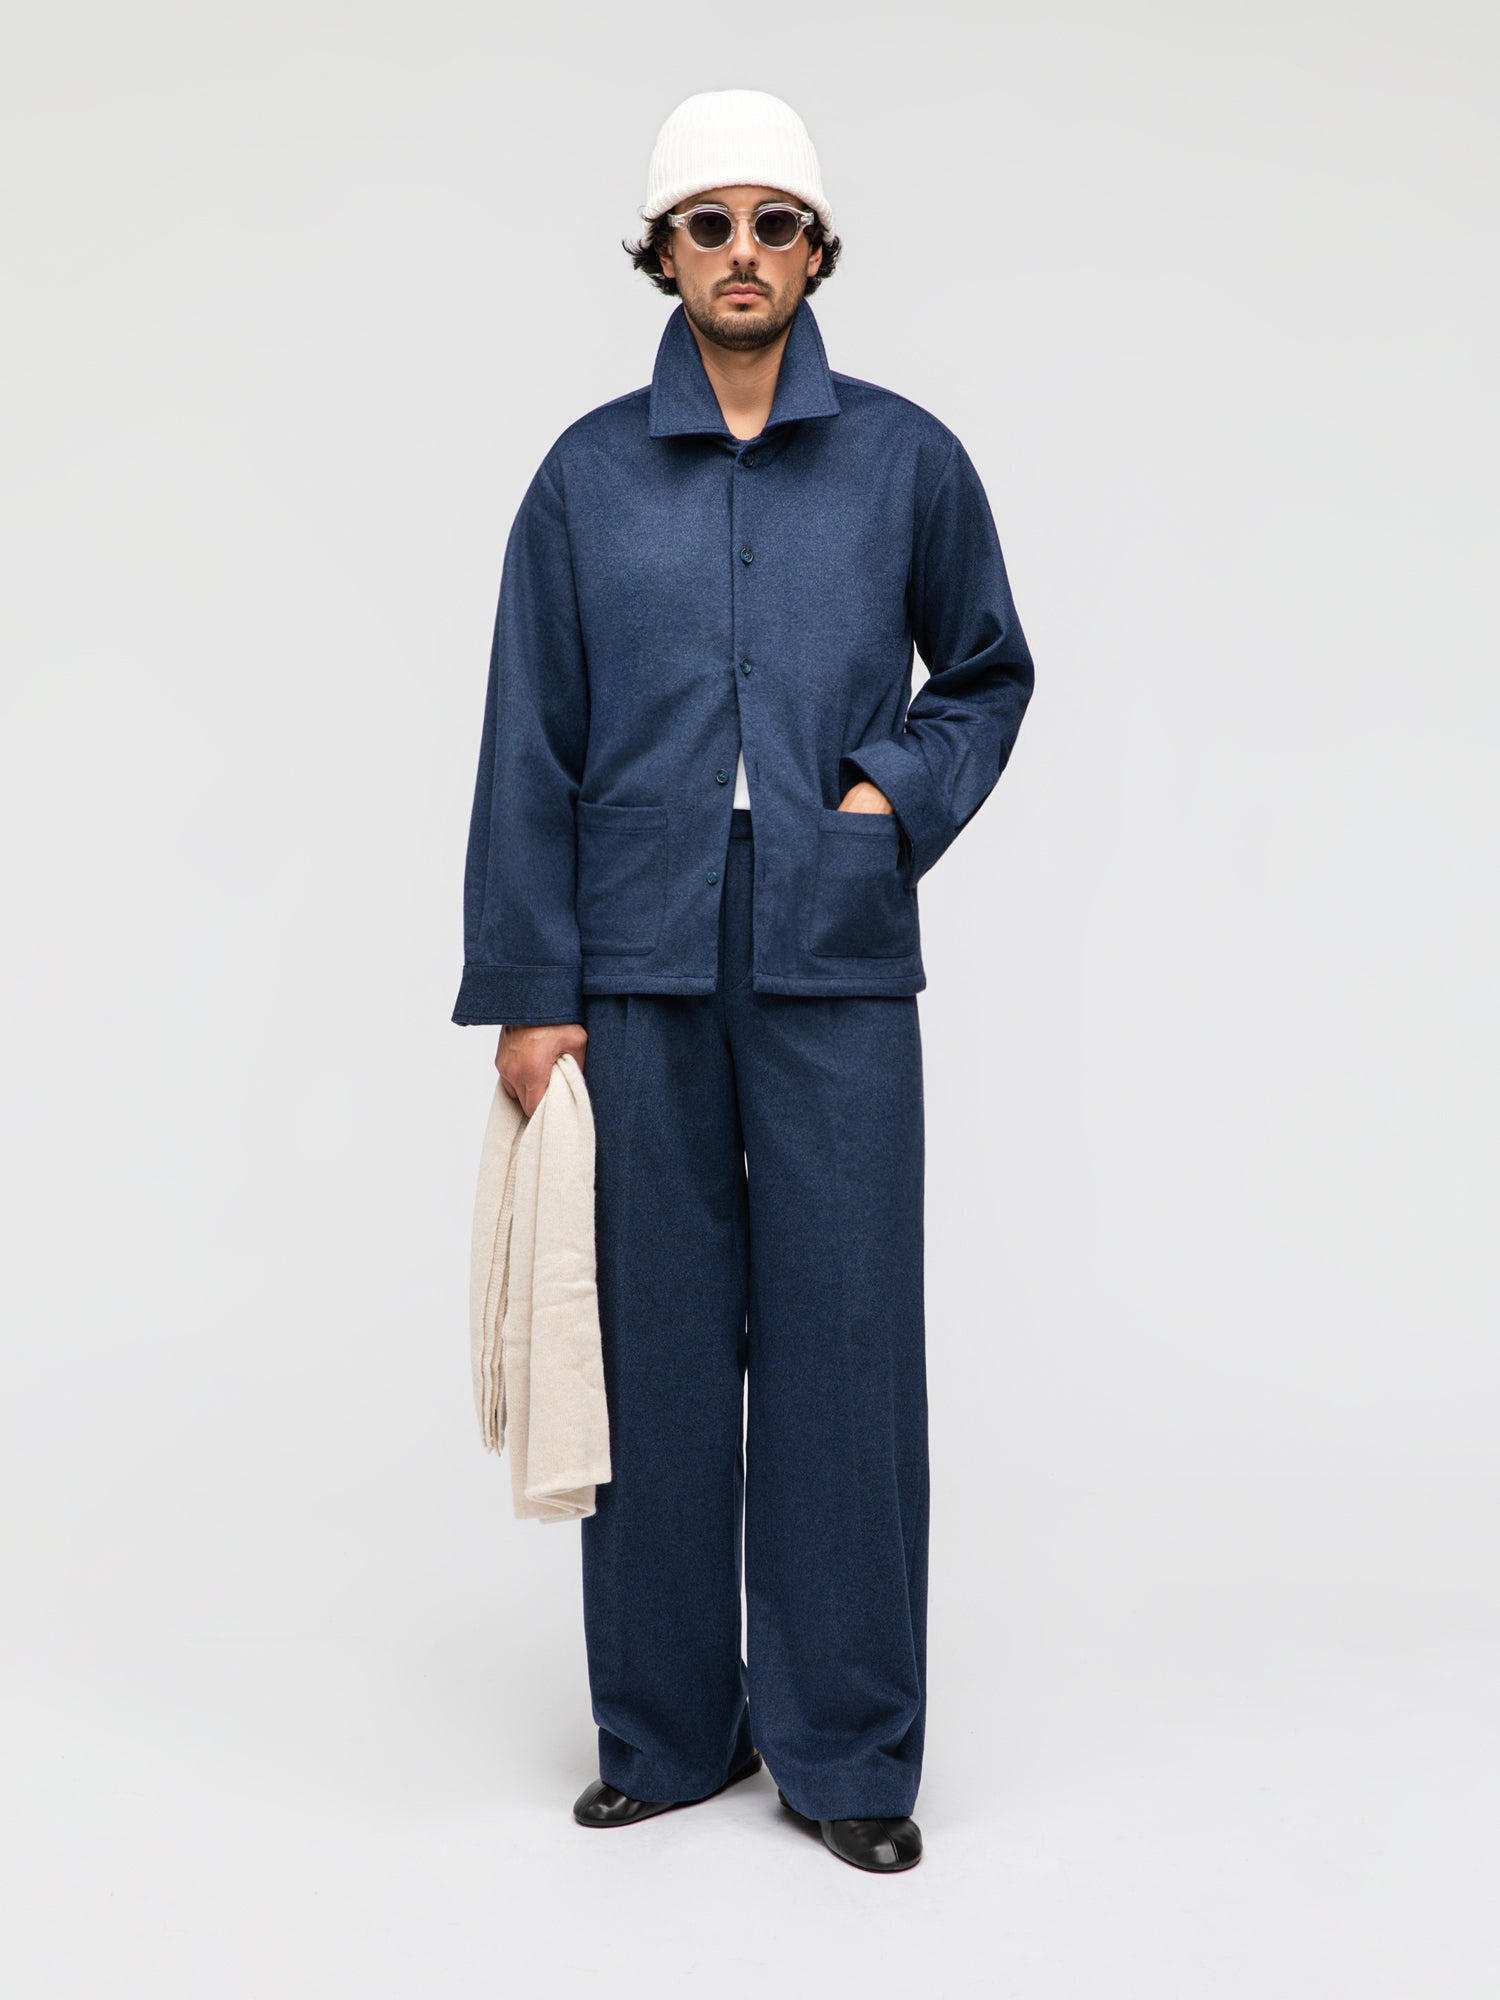
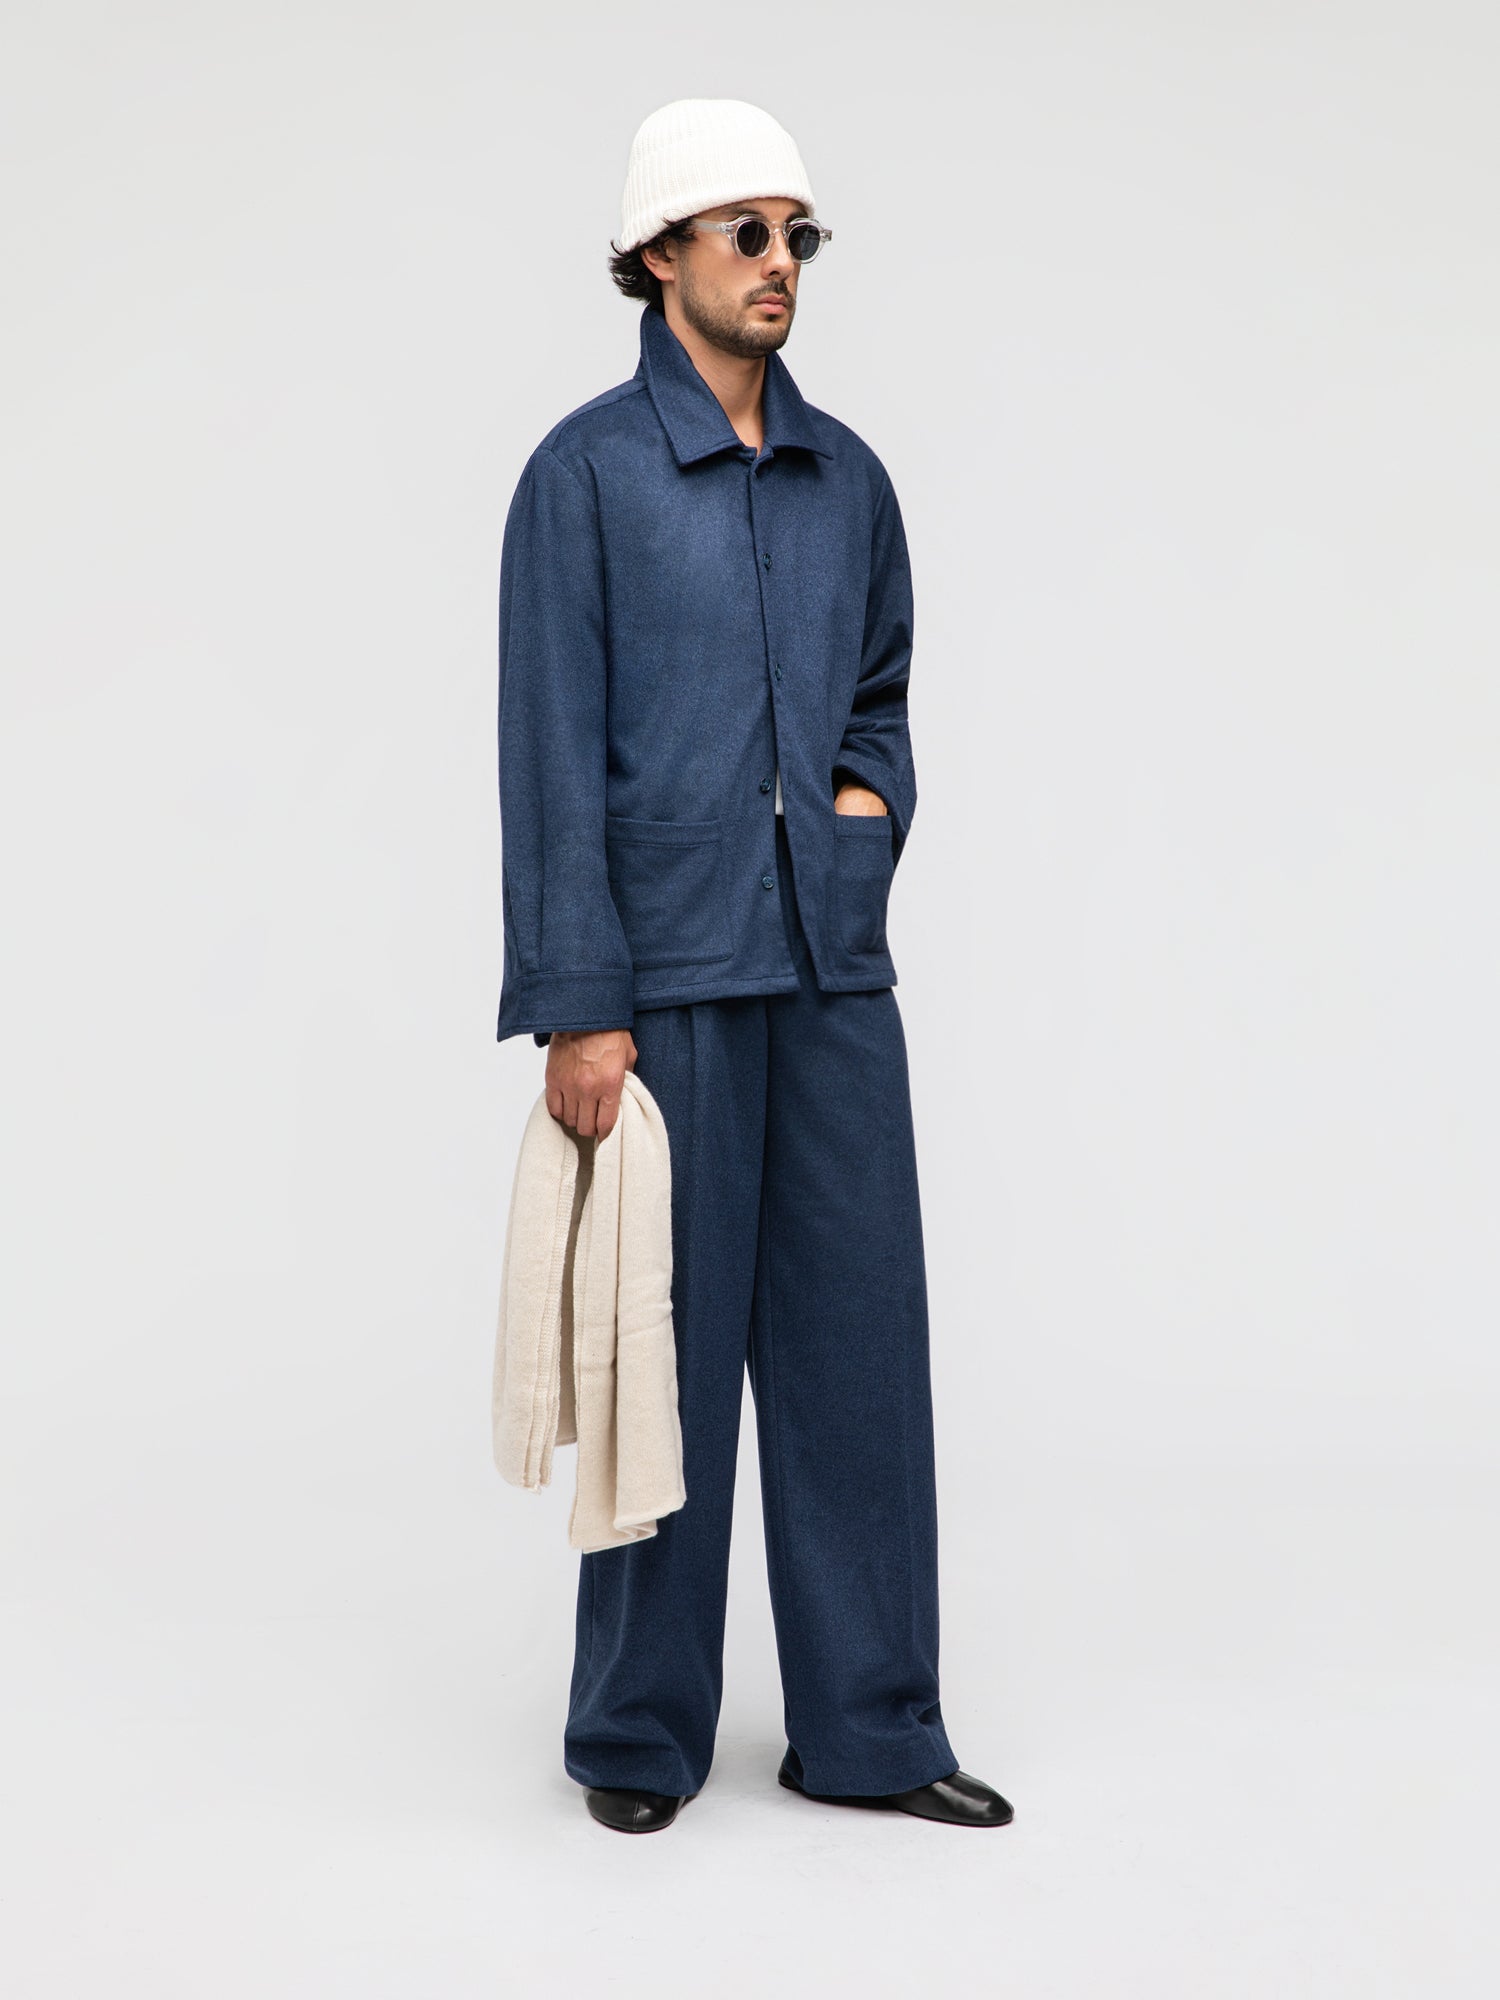
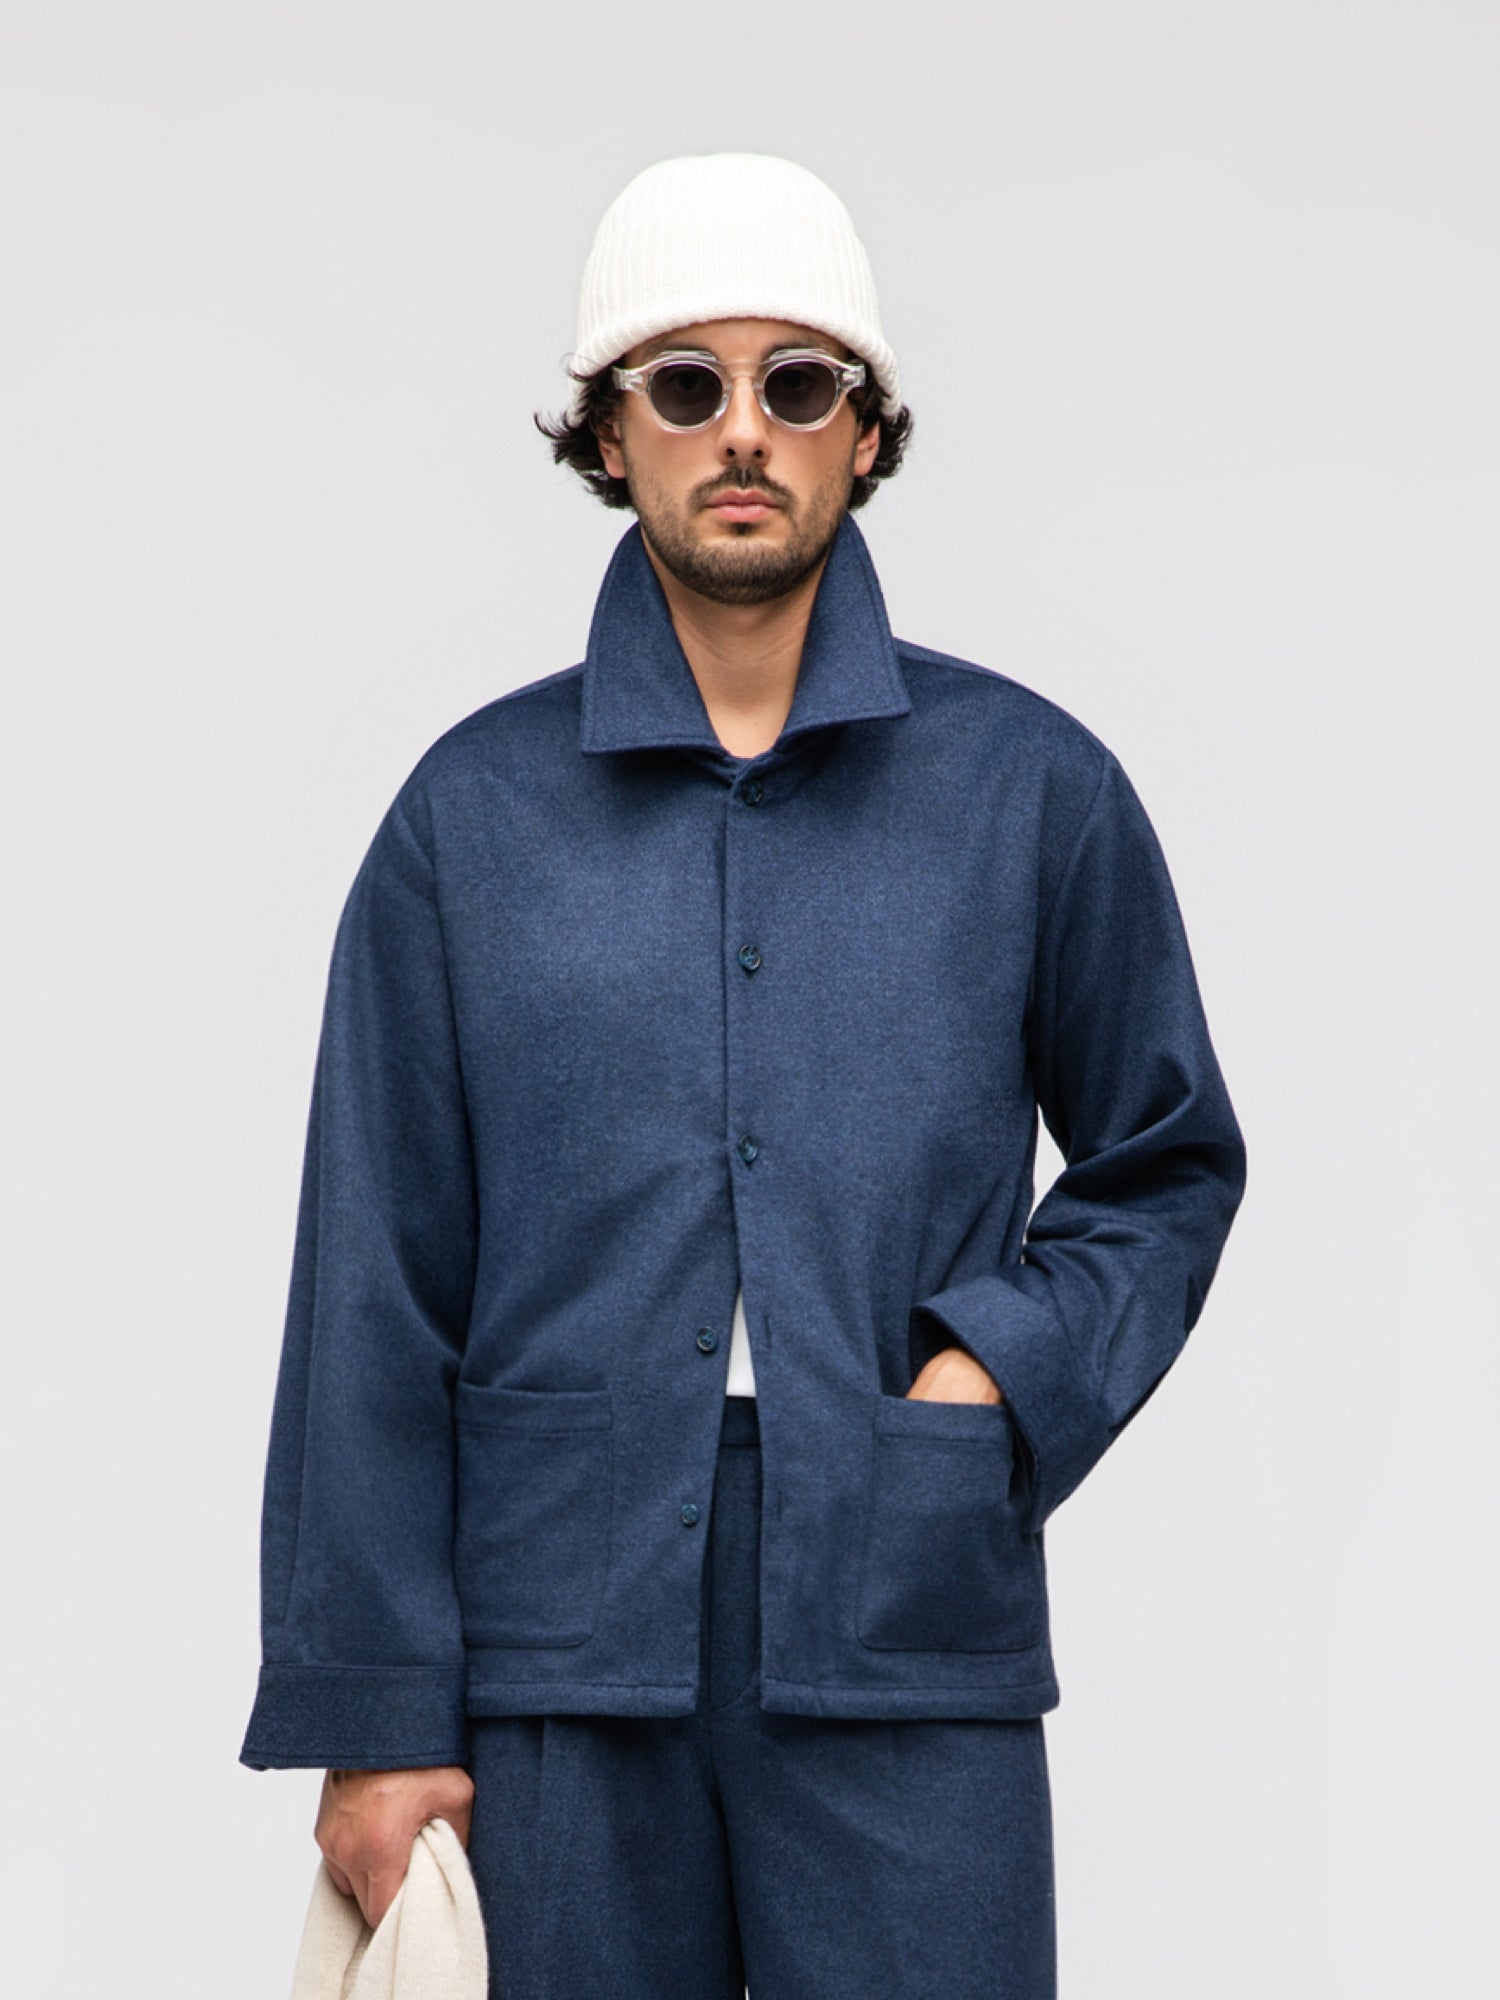
Shirt Jacket made of a cashmere wool blend with a soft texture and elegant drape. Designed with dual front pockets, it balances casual ease with relaxed tailoring.
Regular price
£249.00
£189.00

/ Size guide
Use the switch below to display measurements in centimeter or inches.
Have any further questions about fit? Book an appointment with one of our product specialists, and we'll be happy to help.
You can also write to us in the Chat.
Shirt Jacket made of a cashmere wool blend with a soft texture and elegant drape. Designed with dual front pockets, it balances casual ease with relaxed tailoring.
DETAILS & FEATURES
- — Enlarged collar
- — French placket
- — Dual side pockets
- — Rounded cuffs
- — Horn buttons
FABRIC & MATERIALS
FABRIC: WOOL CASHMERE
COMPOSITION: 90% WOOL 10 % CASHMERE
WEIGHT: 460 GRAM
COLOUR: NAVY
SEASON: FOUR SEASON
CARE & WASHING
WASHING: DRY CLEAN ONLY
WASHING MACHINE: NO
IRONING: YES
STEAMING: YES
GENERAL GUIDE: STEAM AFTER EACH WEAR
DELIVERY TIME
Estimated delivery time: 3-5 days. To countries within the European Union, we ship with UPS or DHL. To the United States, Canada – and others – we ship with FedEx International. All shipments are fully trackable.
Please note: delivery times may vary depending on the delivery address. Custom made products are produced after you have placed your order, which means the delivery time is estimated between 3-5 weeks.
SIZING INSTRUCTIONS
Model is 6' 05" / 184 cm, and is wearing a size Large

DETAILS
- — Enlarged collar
- — French placket
- — Dual side pockets
- — Rounded cuffs
- — Horn buttons
FABRIC
This fabric is expertly crafted from a premium blend of cashmere and wool, ensuring an ultra-soft feel and a refined, luxurious appearance. The rich texture and substantial weight provide a beautiful drape, enhancing both comfort and sophistication. Designed for versatility, the fabric seamlessly transitions between indoor and outdoor wear, making it a perfect choice for layering during transitional seasons. Whether styled as an elegant outerwear piece or a polished indoor layer, it offers timeless appeal and exceptional craftsmanship.
New to Custom Made? Press below to get started
GET STARTEDAlready have saved sizes? Log in below
LOGIN FOR SAVED SIZES
I HAVE A SHIRT THAT FITS ME WELL
Use measurements from a shirt you already like.

I WANT TO START FROM SCRATCH
Enter your body measurements and select your fit preference.
SHIRT MEASUREMENTS
Select a shirt size that is your “Base size”, and then make adjustments by pressing plus or minus.
BASE SIZE:

STEP 1:
Place the shirt on a table face up and fold the collar out so it lies completely flat.

STEP 2:
Measure from collar button to the center of the buttonhole slit. Do not include any fabric or stitching beyond the slit.
Keep the measuring tape straight.

STEP 1:
Place the shirt flat on a table face down buttoned. Smooth out any wrinkles or folds using your hands to ensure the fabric lies flat.

STEP 2:
Measure from the top edge where the left sleeve meets the shoulder seam, straight across to the same point on the right side.
Keep the measuring tape straight.
STEP 1:
Place the waistcoat flat on a table face up buttoned. Spread the sleeves slightly. Smooth out any wrinkles or folds using your hands to ensure the fabric lies flat.

STEP 2:
Measure straight across the chest — from the lowest point of the left armhole to the same point on the right armhole.

Measure from armhole seam to armhole seam. Multiply the number by two to get the full chest circumference.
Keep the measuring tape straight.

STEP 1:
Place the shirt flat on a table face up buttoned. Smooth out any wrinkles or folds using your hands to ensure the fabric lies flat.

STEP 2:
Identify the narrowest part of the torso of the shirt — this is usually somehwere around 48 cm / 19 inches down from the collar seam. Multiply the number by two to get the full upper waist circumference.

STEP 3:
Measure from edge to edge at the waistline. Note: in some cases, the fabric edge may extend slightly beyond the seam.
Keep the measuring tape straight.

STEP 1:
Place the shirt flat on a table face up buttoned. Smooth out any wrinkles or folds using your hands to ensure the fabric lies flat.

STEP 2:
Measure straight across from the bottom edge on the left side to the same point on the right. Use the outermost edges as your reference. Multiply the number by two to get the full hip circumference.
IMPORTANT:
Keep the measuring tape straight. If the shirt has gussets (reinforced patches at the hem where the side seams end), make sure they are completely flat.

STEP 1:
Place the shirt flat on a table face down buttoned. Smooth out any wrinkles or folds using your hands to ensure the fabric lies flat.

STEP 2:
Start measuring from the seam where the collar meets the back of the shirt.

STEP 3:
Measure straight down to the bottom hem.
Keep the measuring tape straight.

STEP 1:
Place the shirt flat on a table face up buttoned. Position the sleeves downward so it lies flat in its natural shape. Smooth out any wrinkles or folds using your hands to ensure the fabric lies flat.

STEP 2:
Measure from the the shoulder seam to the end of the cuff.

Make sure you measure from the the shoulder seam.
Keep the measuring tape straight.
ADVANCED SIZE OPTIONS

STEP 1:
Place the shirt flat on a table face up buttoned. Position the sleeves downward. Smooth out any wrinkles or folds using your hands to ensure the fabric lies flat.

STEP 2:
From the top of the shoulder seam, measure 21 cm / 8 in down the sleeve and make a mark.

STEP 3:
From the marked point, measure straight across the sleeve to determine its full width at that level. Multiply the number by two to get the full biceps circumference.
Keep the measuring tape straight.

STEP 1:
Place the shirt flat on a table face up buttoned. Smooth out any wrinkles or folds using your hands to ensure the fabric lies flat.

STEP 2:
From the edge of the cuff seam, measure 15 cm (5.9 in) upwards and make a mark.

STEP 3:
At the marked point, measure across the sleeve to get its width. Make sure the tape is straight and perpendicular to the sleeve. Multiply the number by two to get the full forearms circumference.
Keep the measuring tape straight.

STEP 1:
Lay the cuff face-up on a table and smooth it out so it lies completely flat.

STEP 2:
Measure straight across from one outer edge of the cuff to the other at its widest point.
Keep the measuring tape straight.

STEP 1:
Lay the cuff face-up on a table and smooth it out so it lies completely flat.

STEP 2:
Measure straight across from one outer edge of the cuff to the other at its widest point.
Keep the measuring tape straight.

STEP 1:
Place the shirt flat on a table face up buttoned. Smooth out any wrinkles or folds using your hands to ensure the fabric lies flat.

STEP 2:
Measure from the highest point where the collar meets the shoulder seam straight down to the bottom hem.
Keep the measuring tape straight.

Shoulders are considered sloped when they angle downward more than usual. This often leads to creasing around the upper back and armhole area. The issue can be corrected by lowering the shoulder angle in the jacket’s construction.

A shoulder is considered squared when it angles upward more than average. This typically causes a horizontal crease across the upper back, wider than the space between the ears. The fit can be improved by increasing the shoulder angle.

If the fit is good in this area, no alteration is needed.

If the shirt is tight across the front and the buttons pull, while the back fits well — increase the chest width to relieve tension and improve comfort..

If the shirt is loose across the front and the back fits well — reduce the chest width to remove excess fabric and refine the silhouette..

If the fit is good in this area, no alteration is needed.

If the shirt fits well in the chest but it is too tight accross the upper back especially when moving your arms forward, add width to the back for better mobility.

If the shirt fits well in the chest but there is too much fabric bunching at the back, reduce the back width to clean up the fit. A slight drape is normal and helps with movement.

If the fit is good in this area, no alteration is needed.

If the waist fits well in the back but feels tight only in the front — use this tool to add width and relieve the tension.

If the waist fits well in the back but is loose in the front, causing the front panels to flare outward — use this tool to remove the excess and bring the shirt closer to the body.

If the fit is good in this area, no alteration is needed.

If the shirt fits well over the stomach but is too loose in the lower back waist, use this tool.

If the shirt fits well over the stomach but is too tight in the lower back waist, use this tool.

If the fit is good in this area, no alteration is needed.

If the shirt feels loose under the armpit and bunches up, raising the armhole will remove excess fabric and improve mobility.

If the shirt feels tight or digs into the armpit, lowering the armhole will add room and increase comfort.

If the fit is good in this area, no alteration is needed.

If the armhole and upper sleeve feel too tight and restrict movement, this adjustment will enlarge the armhole circumference, allowing for more room and improved mobility in the upper arm.

If the armhole and upper sleeve appear oversized and excess fabric can be pinched in this area, this adjustment will reduce the armhole circumference—resulting in a slimmer fit through the upper arm.

If the shirt sits well and feels comfortable in this area, no adjustments are required.
SIZE PASSPORT NAME:
SELECT BASE SHIRT SIZE
REGULAR
(between 167 cm — 187 cm)-

TAILORED FIT
The tailored fit is somewhat V-shaped — meaning that the shoulders are wider, and then the upper waist of the shirt is slightly tapered.
-

CASUAL FIT
The casual fit is more loose throughout the entire shirt — meaning that the shoulders, chest, upper waist and hip are wider. Also, the biceps and sleeve opening are somewhat wider as well.


HOW TO MEASURE
LOGIN FOR SAVED SIZES
Login if you have an account with us where your measurements are stored from previous orders:
BODY MEASUREMENTS
Enter your body measurements and fit preference. Our AI system will suggest garment measurements for you. You can make adjustments by pressing plus or minus.

Stand upright without shoes, back against a wall, with feet together and shoulders relaxed. Measure from the top of the head down to the floor. Use a flat object (like a book) to mark the top of the head, then measure vertically to the ground.
Keep the measuring tape straight.

Mesure the full circumference of your neck. The measuring tape should be positioned where you would button the collar.
Keep the measuring tape straight.

Wrap the measuring tape around the fullest part of the chest, typically just under the armpits and across the nipples. Keep the tape level and snug, but not tight. Breath normally — do not hold breath nor puff the chest.
Keep the measuring tape straight.

Measure across shoulders. Measure between two points where the garment's shoulder seams naturally would be positioend. The tape should follow a natural curve.

Important: Stand tall when measuring. A slouched or rounded-back posture will distort the results.
IMPORTANT:
Stand tall when measuring. A slouched or rounded-back posture will distort the results

Wrap the measuring tape around the upper waist — just above the navel and below the ribcage. Keep the tape horizontal, snug, and allow for natural breathing.
Keep the measuring tape straight.

Stand with feet together and wrap the measuring tape around the fullest part of the hips and seat. Keep the tape level and snug, without digging into the body. Make sure pockets are empty and you are standing upright.
Keep the measuring tape straight.

With the arm relaxed and slightly bent, measure around the widest part of the upper arm (bicep). Ensure the tape is horizontal and comfortably snug — not tight. Avoid flexing the arm during the measurement.
Keep the measuring tape straight.

Start at the point where the shoulder meets the arm and measure down to the wrist. The arm should be slightly bent and the measurement tape as well. Tip: For best accuracy, put on a t-shrt or jacket and use the shoulder seam and wrist bone as visual reference points — rhis ensures the sleeve will fall correctly.
IMPORTANT:
Keep the measuring tape slightly bent — let it follow the arms natural shape.

Measure the circumerence of your wrist.
Keep the measuring tape straight.
ADVANCED SIZE OPTIONS

Standard: This body type features a balanced, natural chest shape without significant muscle development. The chest tapers gently into the waist, allowing most clothes to sit cleanly without pulling or gaping.

Muscular: Characterized by a fuller, more pronounced chest due to muscle mass, especially in the pectorals. A muscular chest often requires extra allowance in the chest area to prevent tightness across the front and to maintain a clean drape. Tailoring adjustments may be needed to avoid distortion.

Flat stomach: This build shows little to no protrusion at the midsection. Garments follow the natural taper from chest to waist and sit close to the body without tension. Most tailored fits accommodate this shape with minimal alteration.

Round stomach: A fuller stomach that projects outward from the side view. This shape can cause garments to flare open or ride up if not cut appropriately. Patterns often need additional room in the front waist and hem to allow for a clean, uninterrupted line from chest to hip.
FIT
-

The Tailored Fit is characterized by a defined waist, cleaner suppression through the torso, and a sharper silhouette overall. The body is narrower, the lines are more sculpted, and the jacket looks more fitted and structured on the body.

TAILORED FIT
-

The Casual Fit is characterized by slightly wider shoulders, chest to waist ratio, biceps and sleeve opening — creating a relaxed and laidback look.

CASUAL FIT


BASE SIZE:
STEP 1:
Place the shirt on a table face up and fold the collar out so it lies completely flat.
STEP 2:
Measure from collar button to the center of the buttonhole slit. Do not include any fabric or stitching beyond the slit.
Keep the measuring tape straight.
STEP 1:
Place the shirt flat on a table face down buttoned. Smooth out any wrinkles or folds using your hands to ensure the fabric lies flat.
STEP 2:
Measure from the top edge where the left sleeve meets the shoulder seam, straight across to the same point on the right side.
Keep the measuring tape straight.
STEP 1:
Place the waistcoat flat on a table face up buttoned. Spread the sleeves slightly. Smooth out any wrinkles or folds using your hands to ensure the fabric lies flat.
STEP 2:
Measure straight across the chest — from the lowest point of the left armhole to the same point on the right armhole.
Measure from armhole seam to armhole seam. Multiply the number by two to get the full chest circumference.
Keep the measuring tape straight.
STEP 1:
Place the shirt flat on a table face up buttoned. Smooth out any wrinkles or folds using your hands to ensure the fabric lies flat.
STEP 2:
Identify the narrowest part of the torso of the shirt — this is usually somehwere around 48 cm / 19 inches down from the collar seam. Multiply the number by two to get the full upper waist circumference.
STEP 3:
Measure from edge to edge at the waistline. Note: in some cases, the fabric edge may extend slightly beyond the seam.
Keep the measuring tape straight.
STEP 1:
Place the shirt flat on a table face up buttoned. Smooth out any wrinkles or folds using your hands to ensure the fabric lies flat.
STEP 2:
Measure straight across from the bottom edge on the left side to the same point on the right. Use the outermost edges as your reference. Multiply the number by two to get the full hip circumference.
IMPORTANT:
Keep the measuring tape straight. If the shirt has gussets (reinforced patches at the hem where the side seams end), make sure they are completely flat.
STEP 1:
Place the shirt flat on a table face down buttoned. Smooth out any wrinkles or folds using your hands to ensure the fabric lies flat.
STEP 2:
Start measuring from the seam where the collar meets the back of the shirt.
STEP 3:
Measure straight down to the bottom hem.
Keep the measuring tape straight.
STEP 1:
Place the shirt flat on a table face up buttoned. Position the sleeves downward so it lies flat in its natural shape. Smooth out any wrinkles or folds using your hands to ensure the fabric lies flat.
STEP 2:
Measure from the the shoulder seam to the end of the cuff.
Make sure you measure from the the shoulder seam.
Keep the measuring tape straight.
ADVANCED SIZE OPTIONS
STEP 1:
Place the shirt flat on a table face up buttoned. Position the sleeves downward. Smooth out any wrinkles or folds using your hands to ensure the fabric lies flat.
STEP 2:
From the top of the shoulder seam, measure 21 cm / 8 in down the sleeve and make a mark.
STEP 3:
From the marked point, measure straight across the sleeve to determine its full width at that level. Multiply the number by two to get the full biceps circumference.
Keep the measuring tape straight.
STEP 1:
Place the shirt flat on a table face up buttoned. Smooth out any wrinkles or folds using your hands to ensure the fabric lies flat.
STEP 2:
From the edge of the cuff seam, measure 15 cm (5.9 in) upwards and make a mark.
STEP 3:
At the marked point, measure across the sleeve to get its width. Make sure the tape is straight and perpendicular to the sleeve. Multiply the number by two to get the full forearms circumference.
Keep the measuring tape straight.
STEP 1:
Lay the cuff face-up on a table and smooth it out so it lies completely flat.
STEP 2:
Measure straight across from one outer edge of the cuff to the other at its widest point.
Keep the measuring tape straight.
STEP 1:
Lay the cuff face-up on a table and smooth it out so it lies completely flat.
STEP 2:
Measure straight across from one outer edge of the cuff to the other at its widest point.
Keep the measuring tape straight.
STEP 1:
Place the shirt flat on a table face up buttoned. Smooth out any wrinkles or folds using your hands to ensure the fabric lies flat.
STEP 2:
Measure from the highest point where the collar meets the shoulder seam straight down to the bottom hem.
Keep the measuring tape straight.
Shoulders are considered sloped when they angle downward more than usual. This often leads to creasing around the upper back and armhole area. The issue can be corrected by lowering the shoulder angle in the jacket’s construction.
A shoulder is considered squared when it angles upward more than average. This typically causes a horizontal crease across the upper back, wider than the space between the ears. The fit can be improved by increasing the shoulder angle.
If the fit is good in this area, no alteration is needed.
If the shirt is tight across the front and the buttons pull, while the back fits well — increase the chest width to relieve tension and improve comfort..
If the shirt is loose across the front and the back fits well — reduce the chest width to remove excess fabric and refine the silhouette..
If the fit is good in this area, no alteration is needed.
If the shirt fits well in the chest but it is too tight accross the upper back especially when moving your arms forward, add width to the back for better mobility.
If the shirt fits well in the chest but there is too much fabric bunching at the back, reduce the back width to clean up the fit. A slight drape is normal and helps with movement.
If the fit is good in this area, no alteration is needed.
If the waist fits well in the back but feels tight only in the front — use this tool to add width and relieve the tension.
If the waist fits well in the back but is loose in the front, causing the front panels to flare outward — use this tool to remove the excess and bring the shirt closer to the body.
If the fit is good in this area, no alteration is needed.
If the shirt fits well over the stomach but is too loose in the lower back waist, use this tool.
If the shirt fits well over the stomach but is too tight in the lower back waist, use this tool.
If the fit is good in this area, no alteration is needed.
If the shirt feels loose under the armpit and bunches up, raising the armhole will remove excess fabric and improve mobility.
If the shirt feels tight or digs into the armpit, lowering the armhole will add room and increase comfort.
If the fit is good in this area, no alteration is needed.
If the armhole and upper sleeve feel too tight and restrict movement, this adjustment will enlarge the armhole circumference, allowing for more room and improved mobility in the upper arm.
If the armhole and upper sleeve appear oversized and excess fabric can be pinched in this area, this adjustment will reduce the armhole circumference—resulting in a slimmer fit through the upper arm.
If the shirt sits well and feels comfortable in this area, no adjustments are required.
