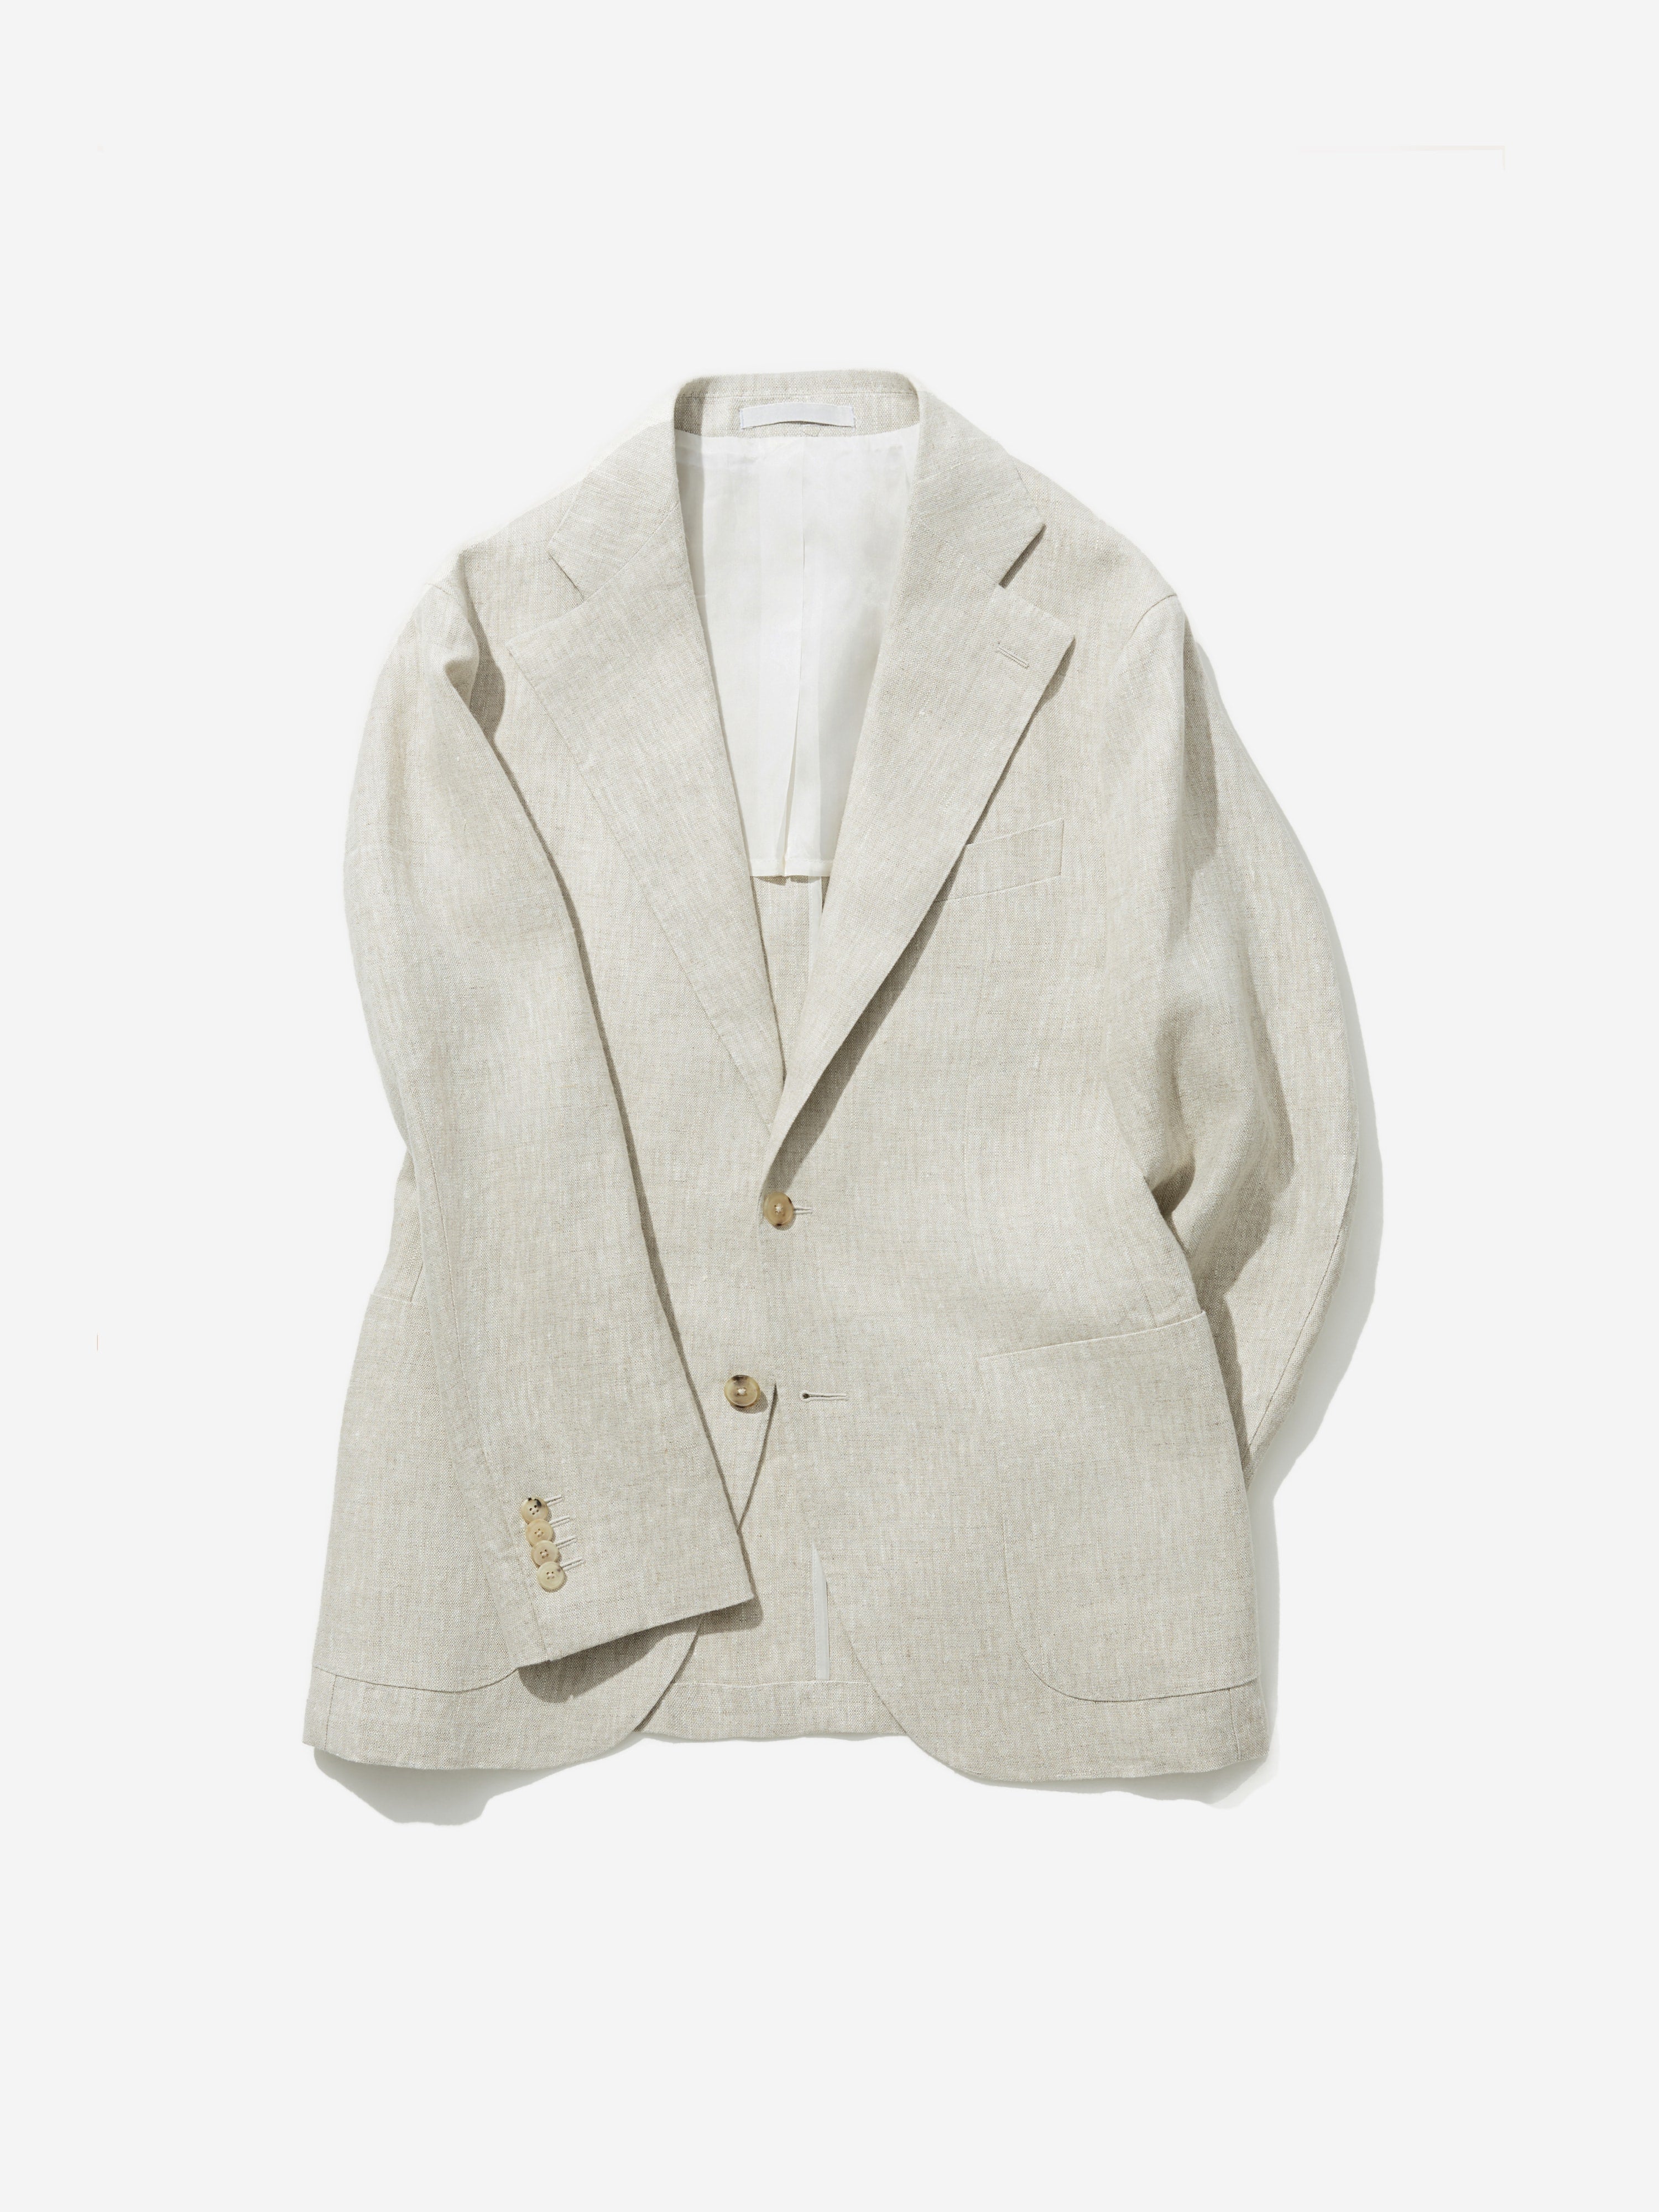
Beige Linen Suit (SB)
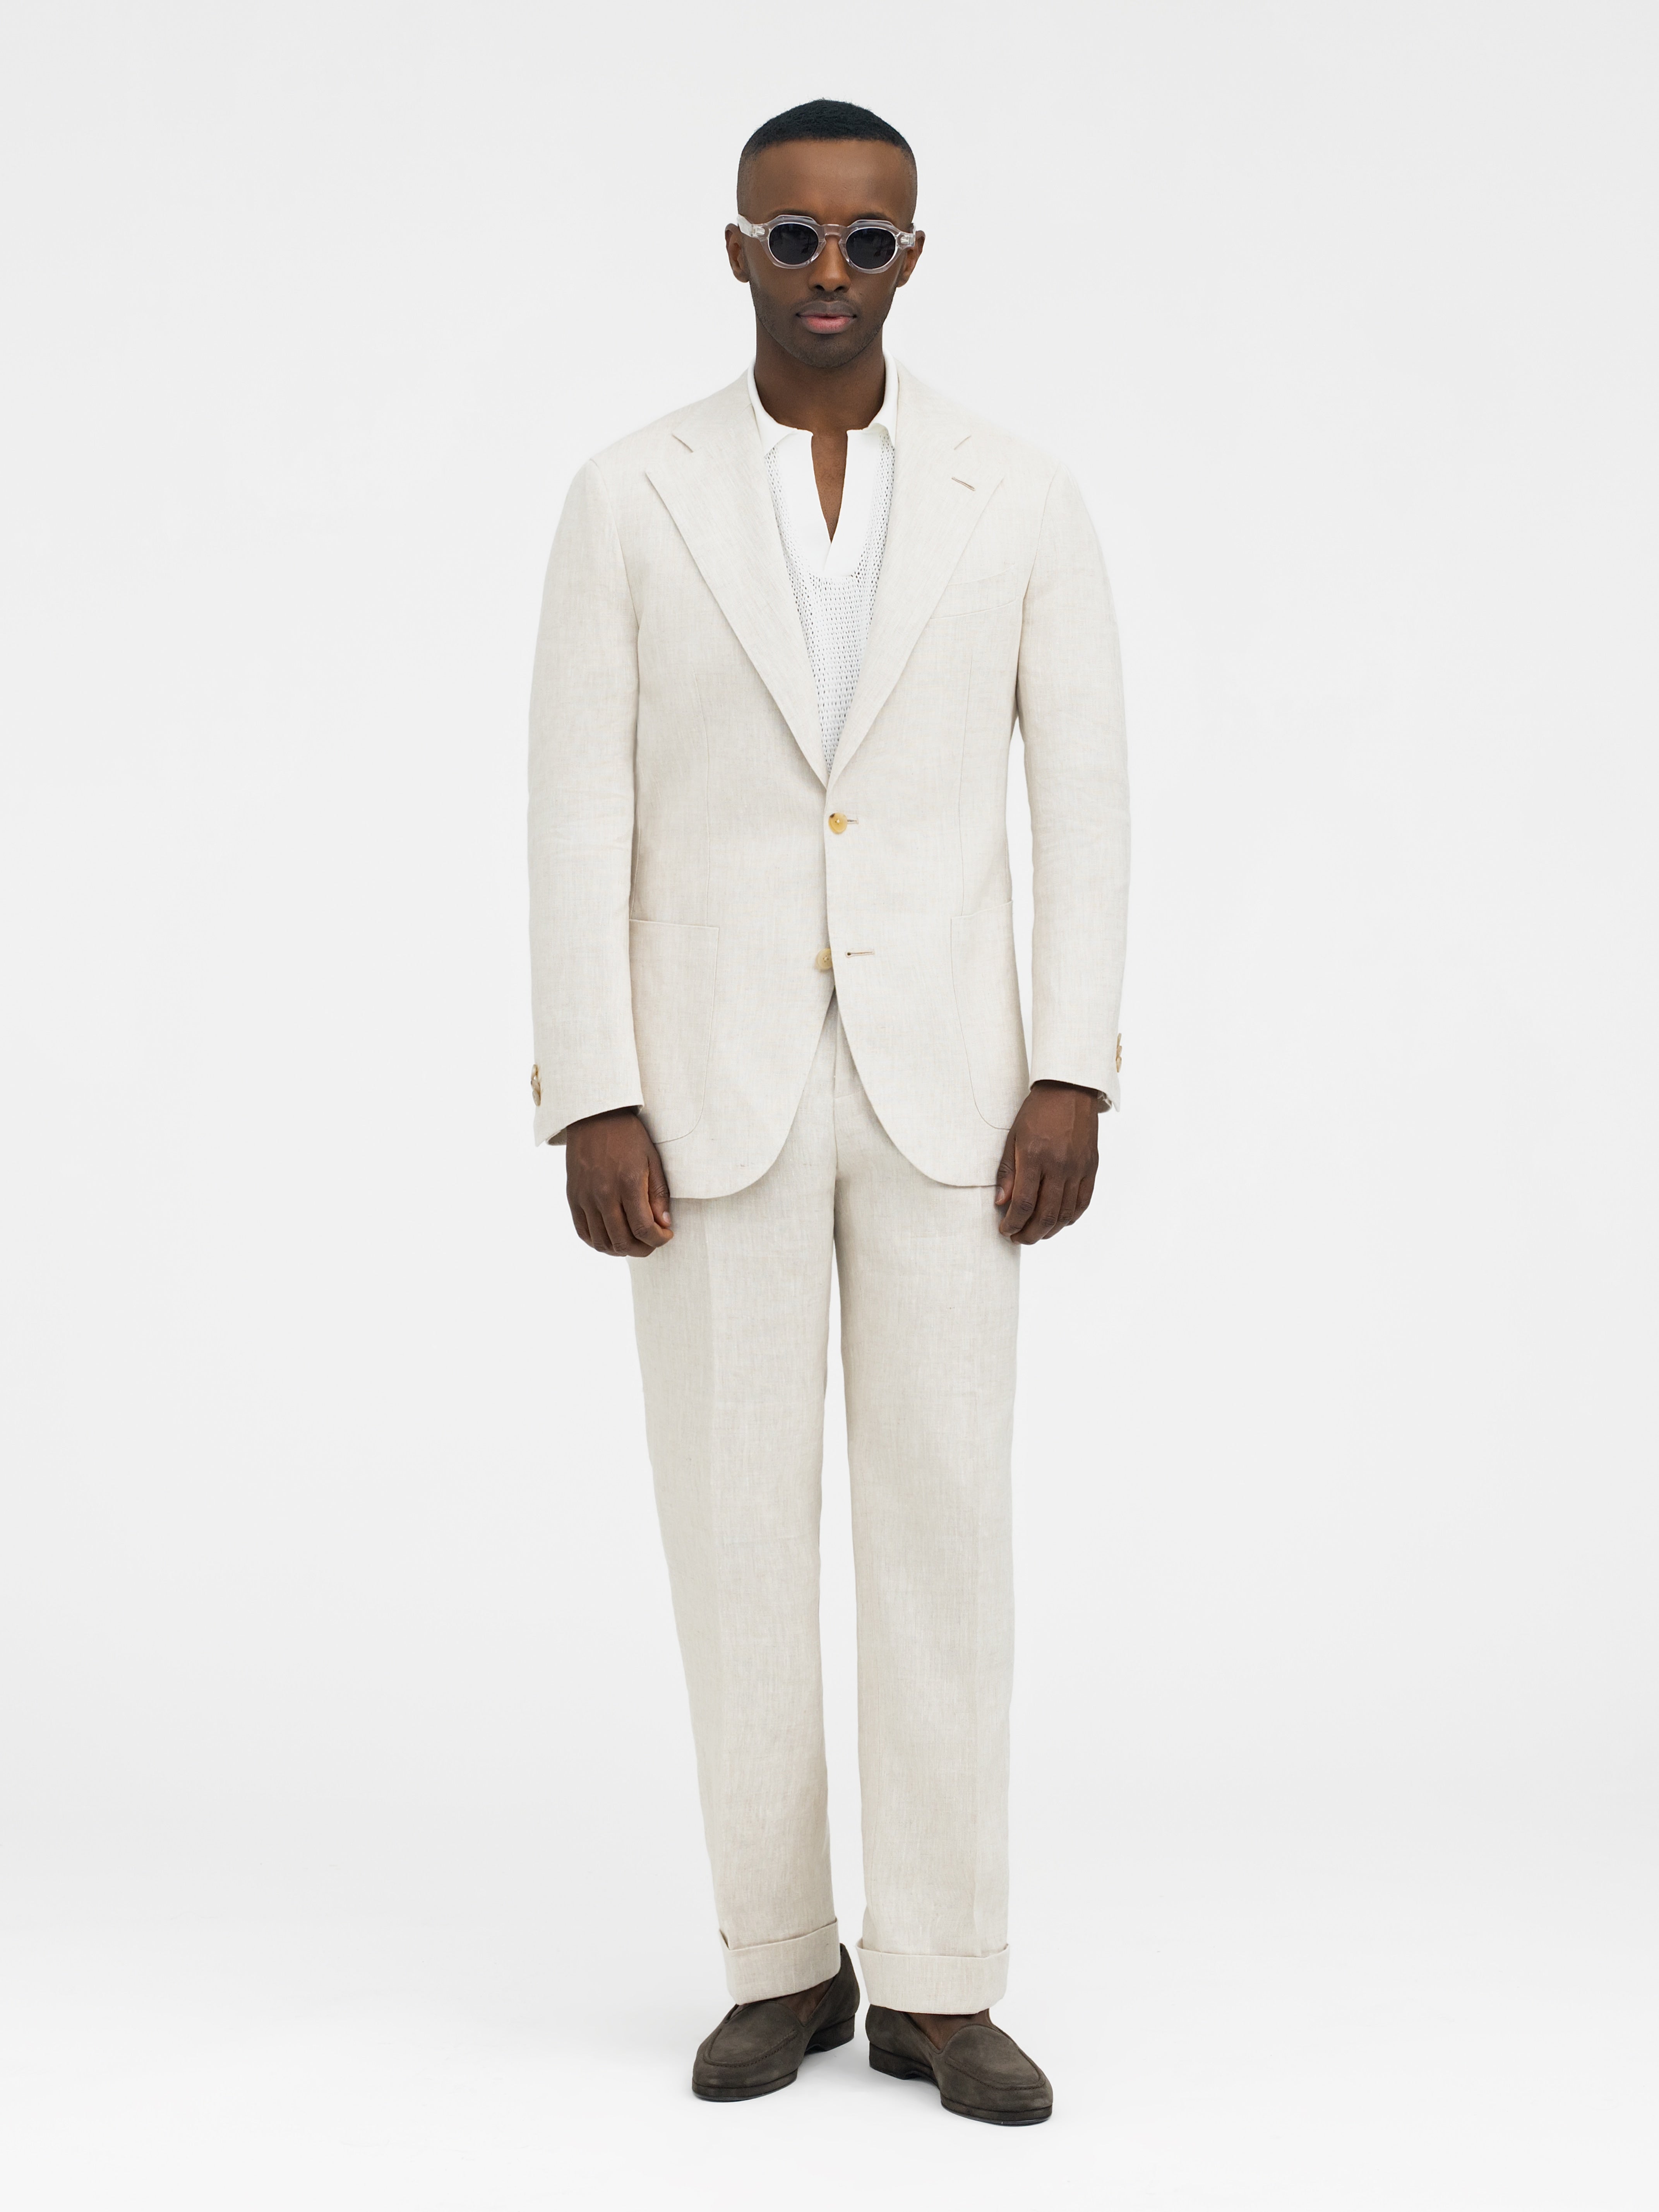
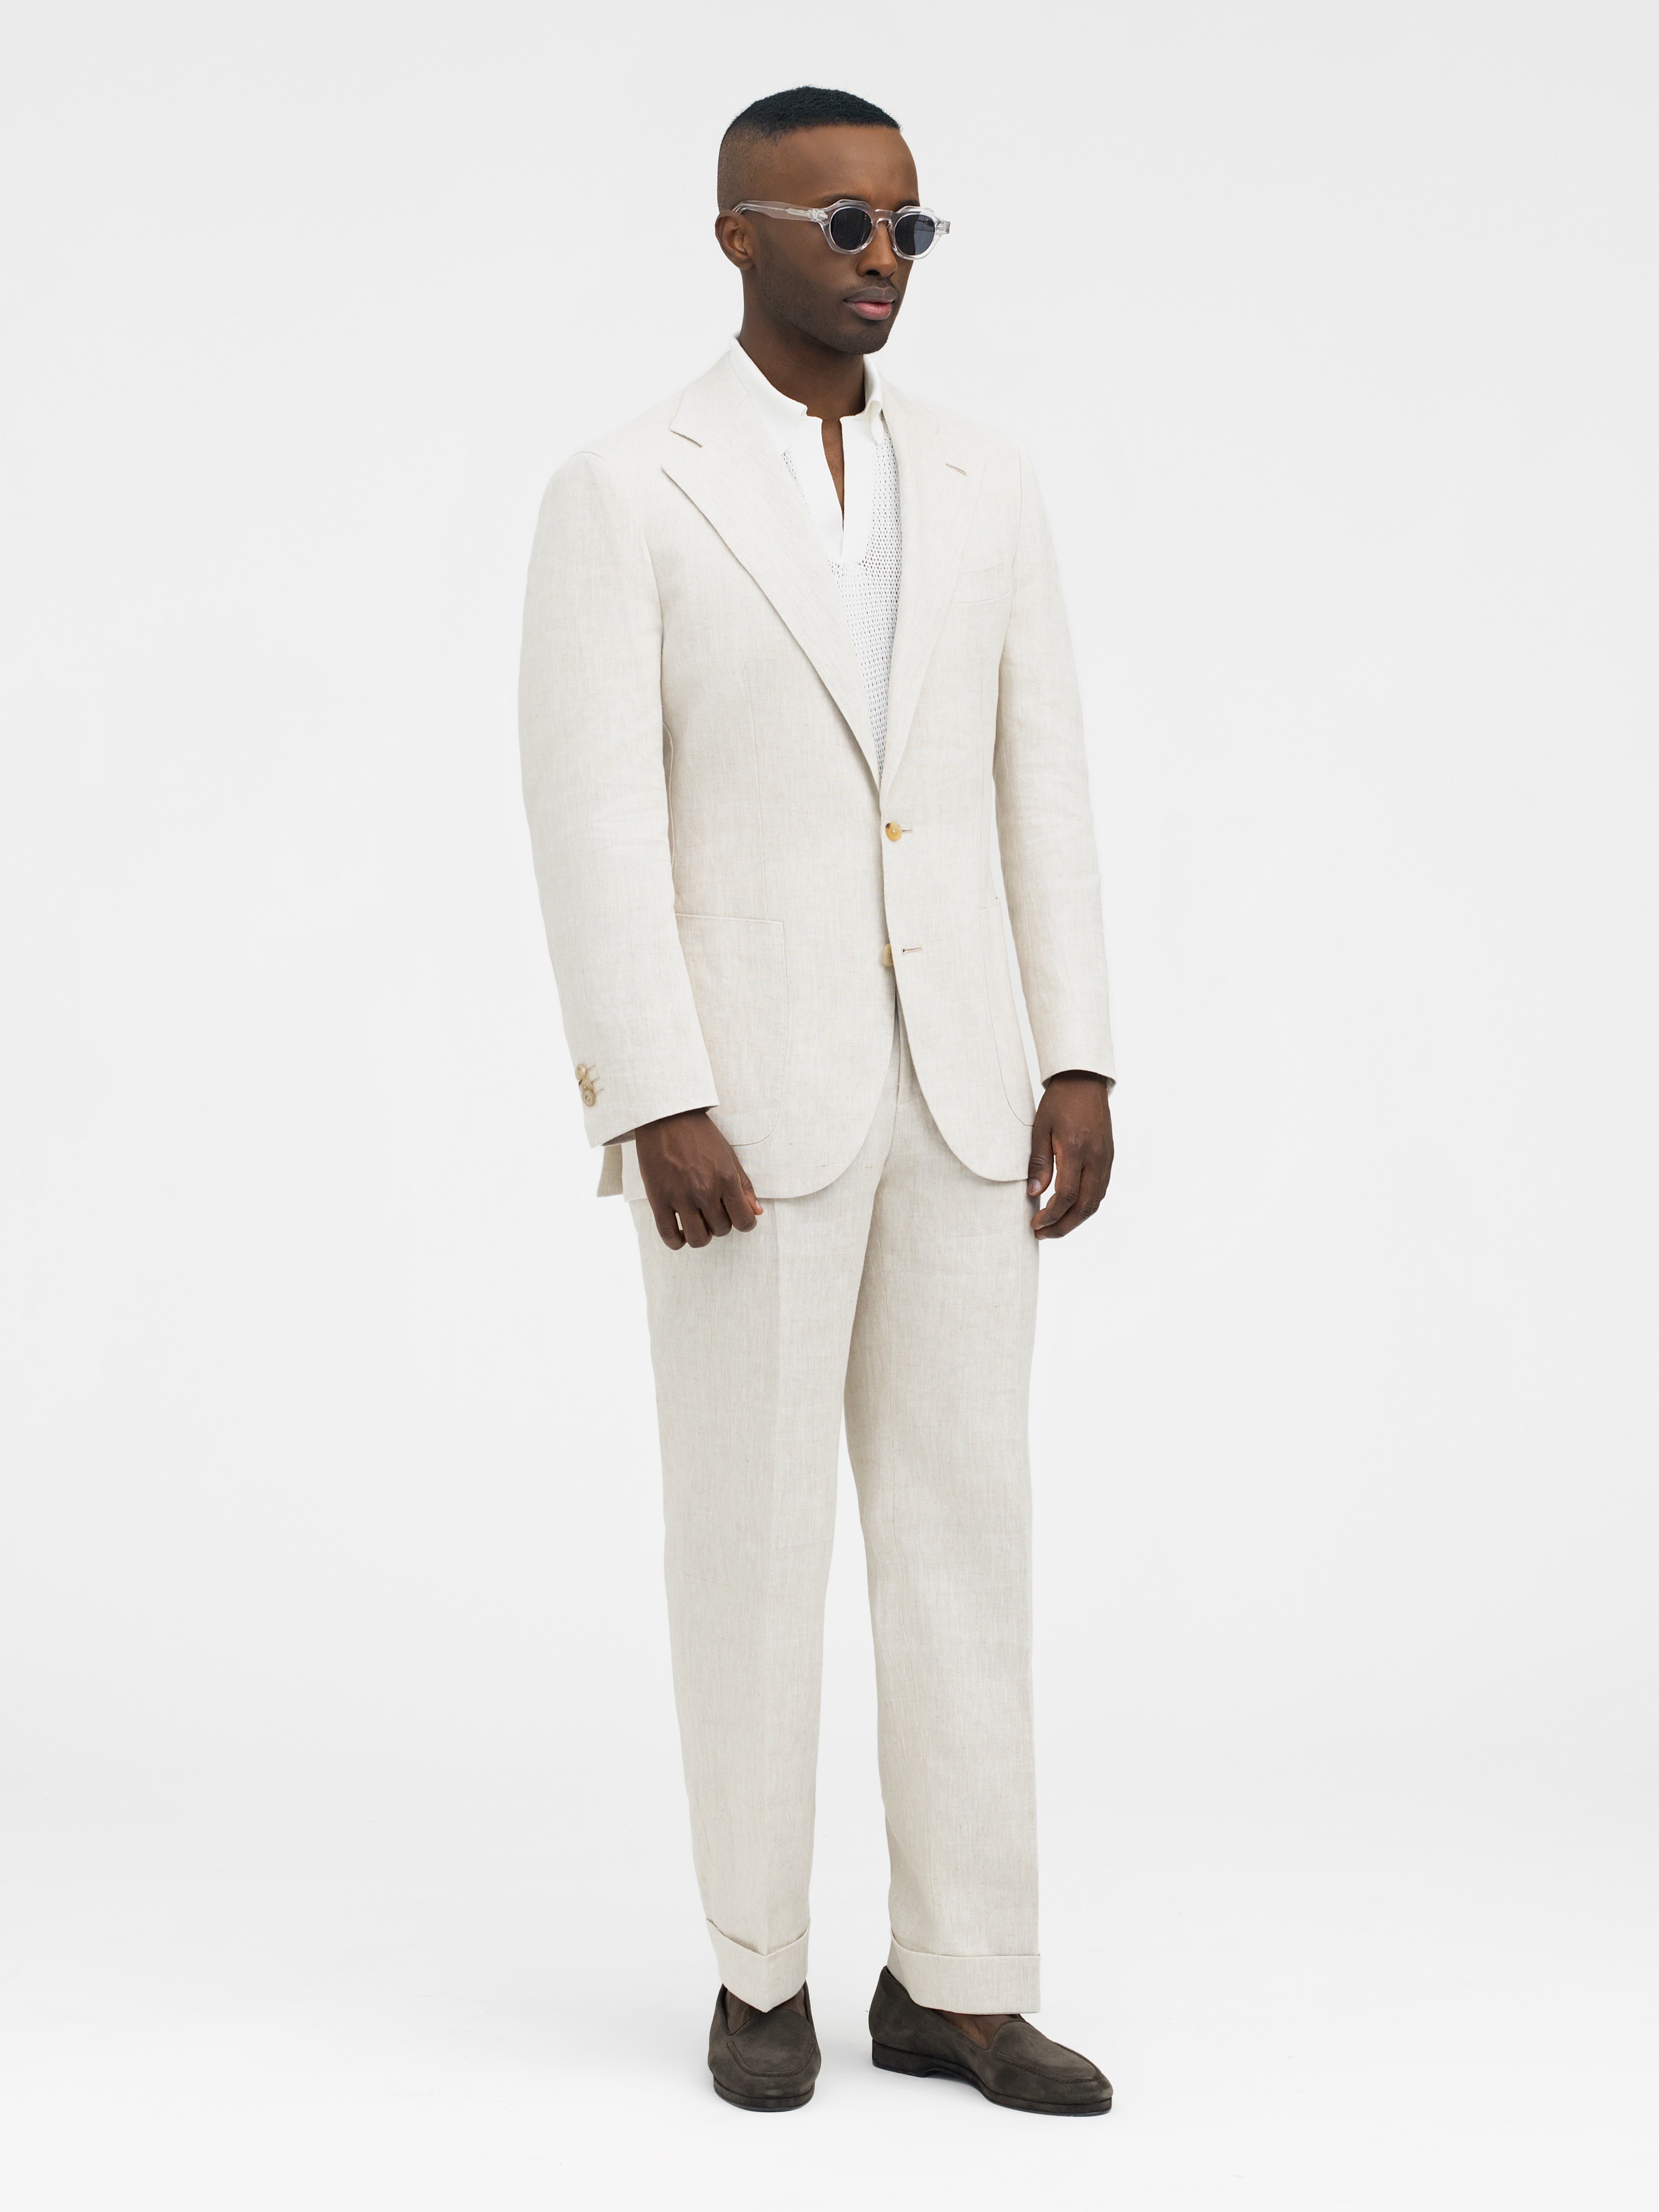
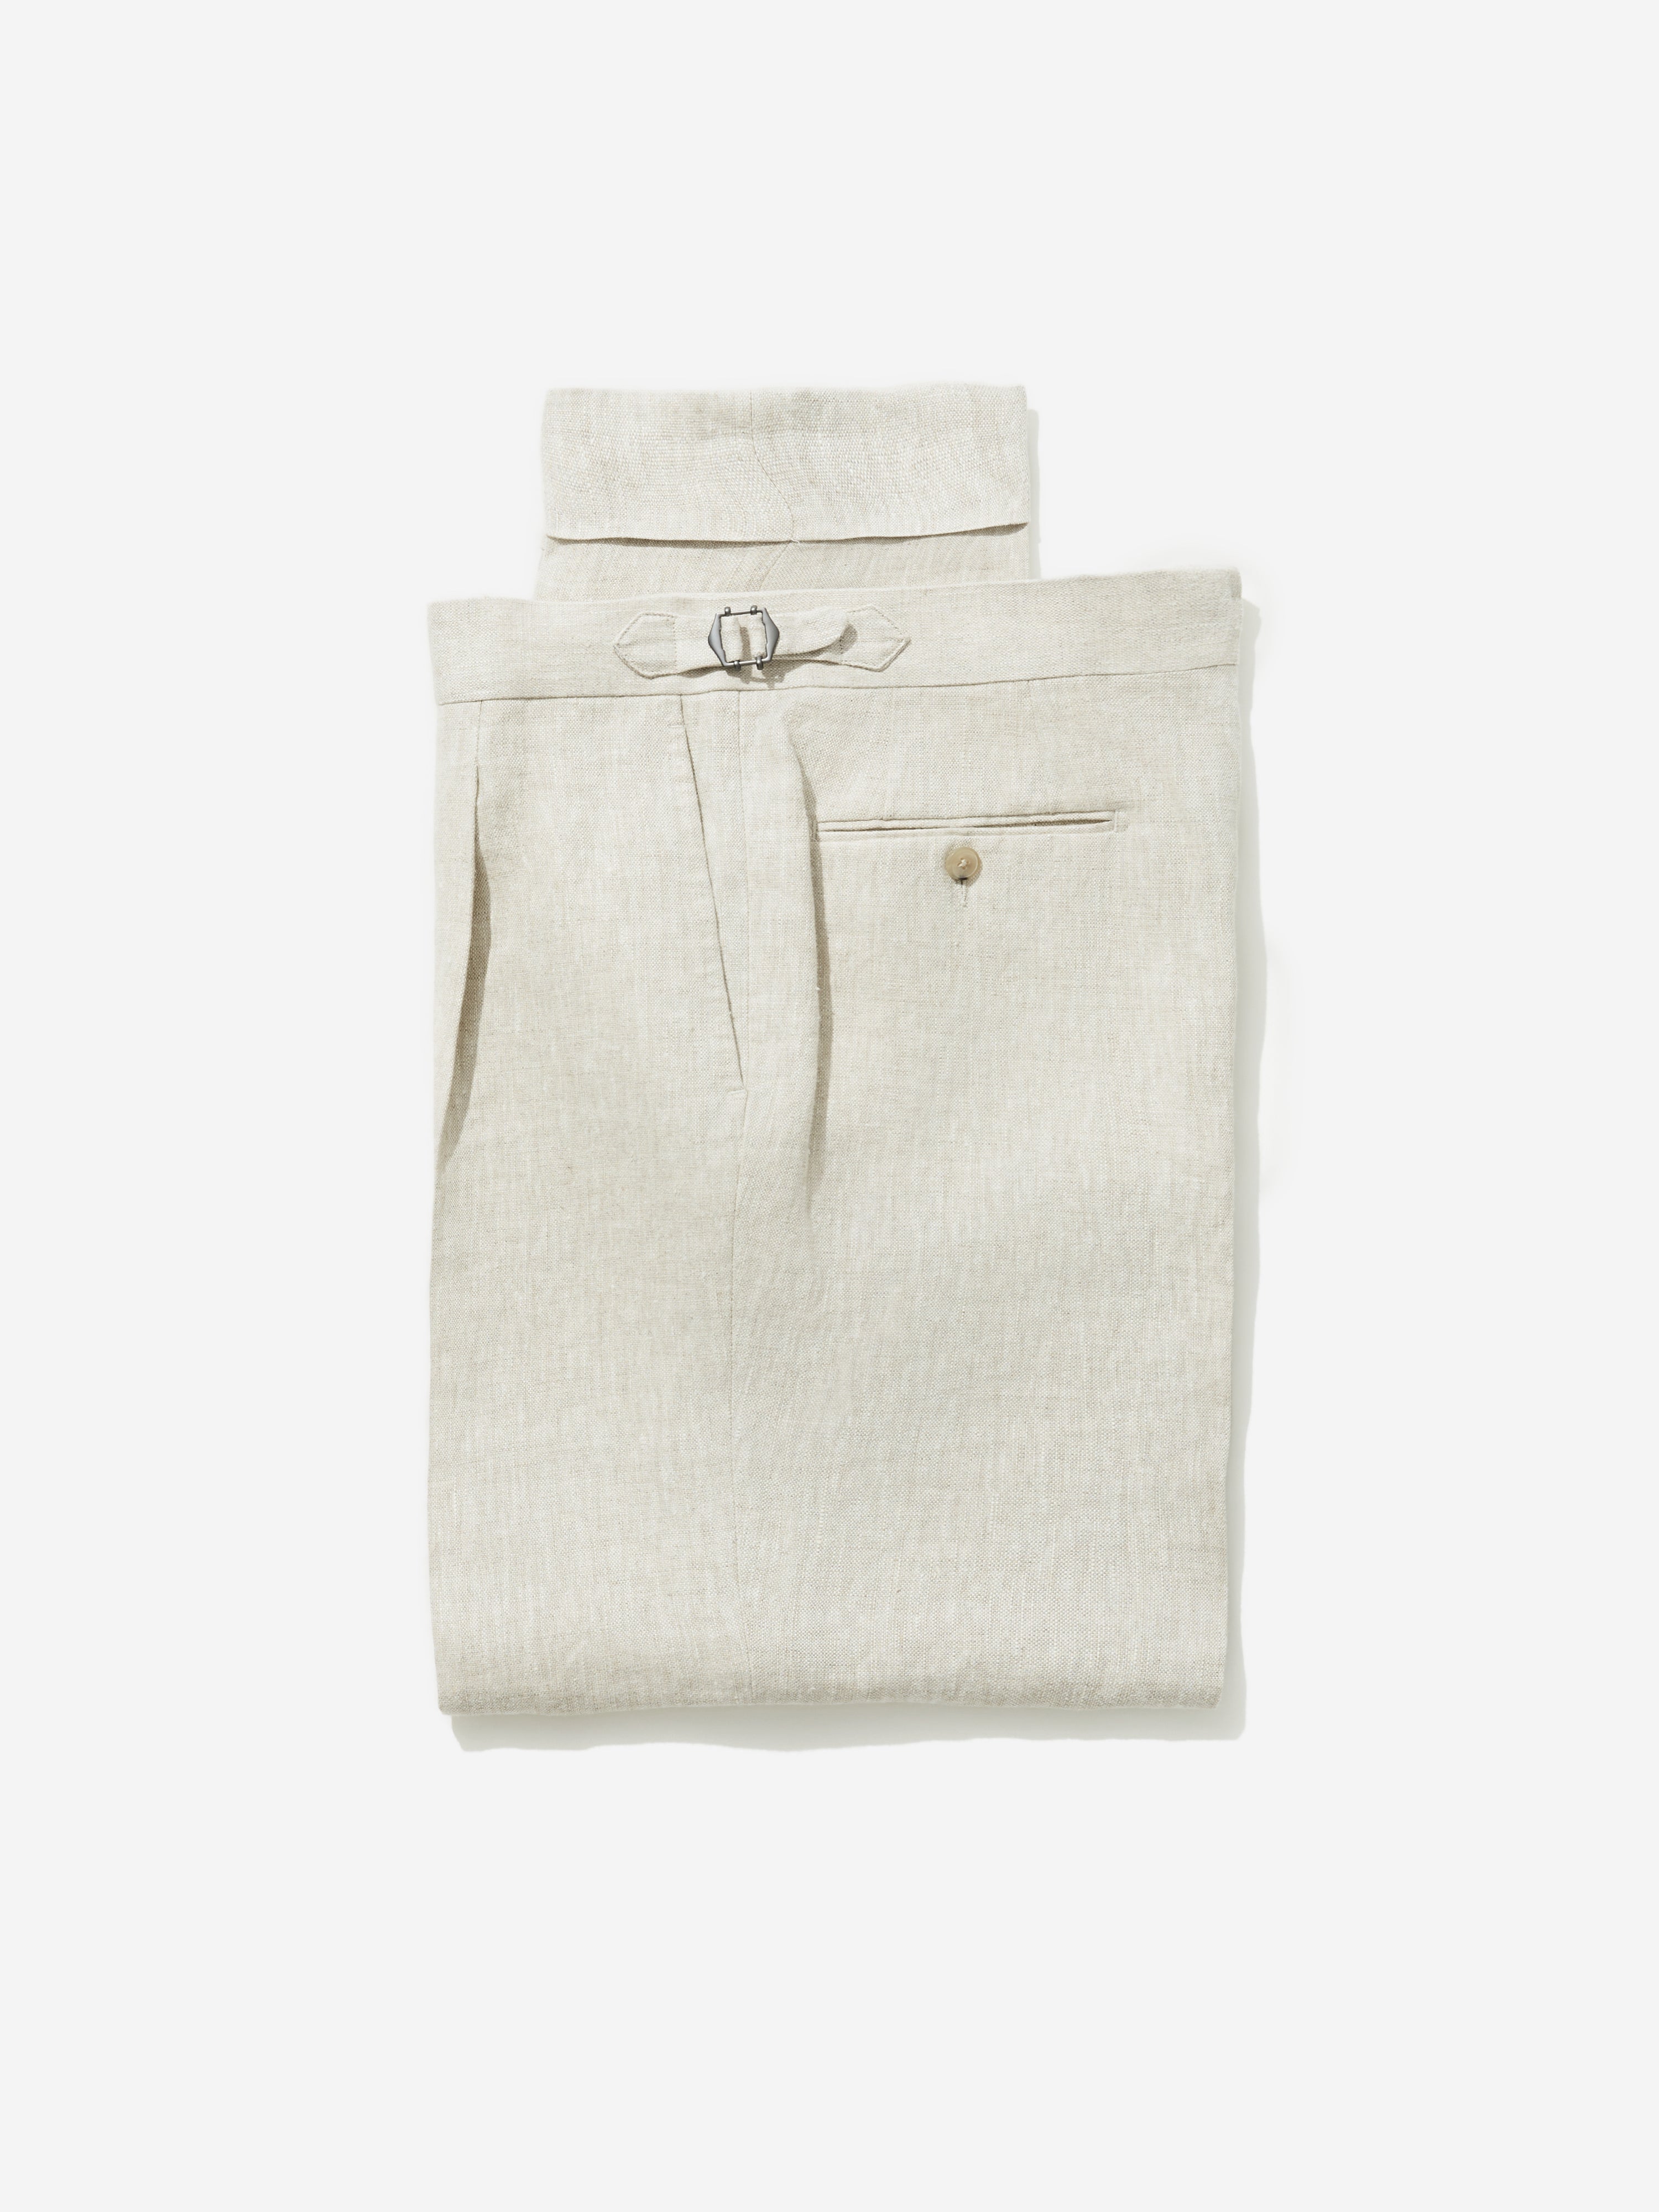
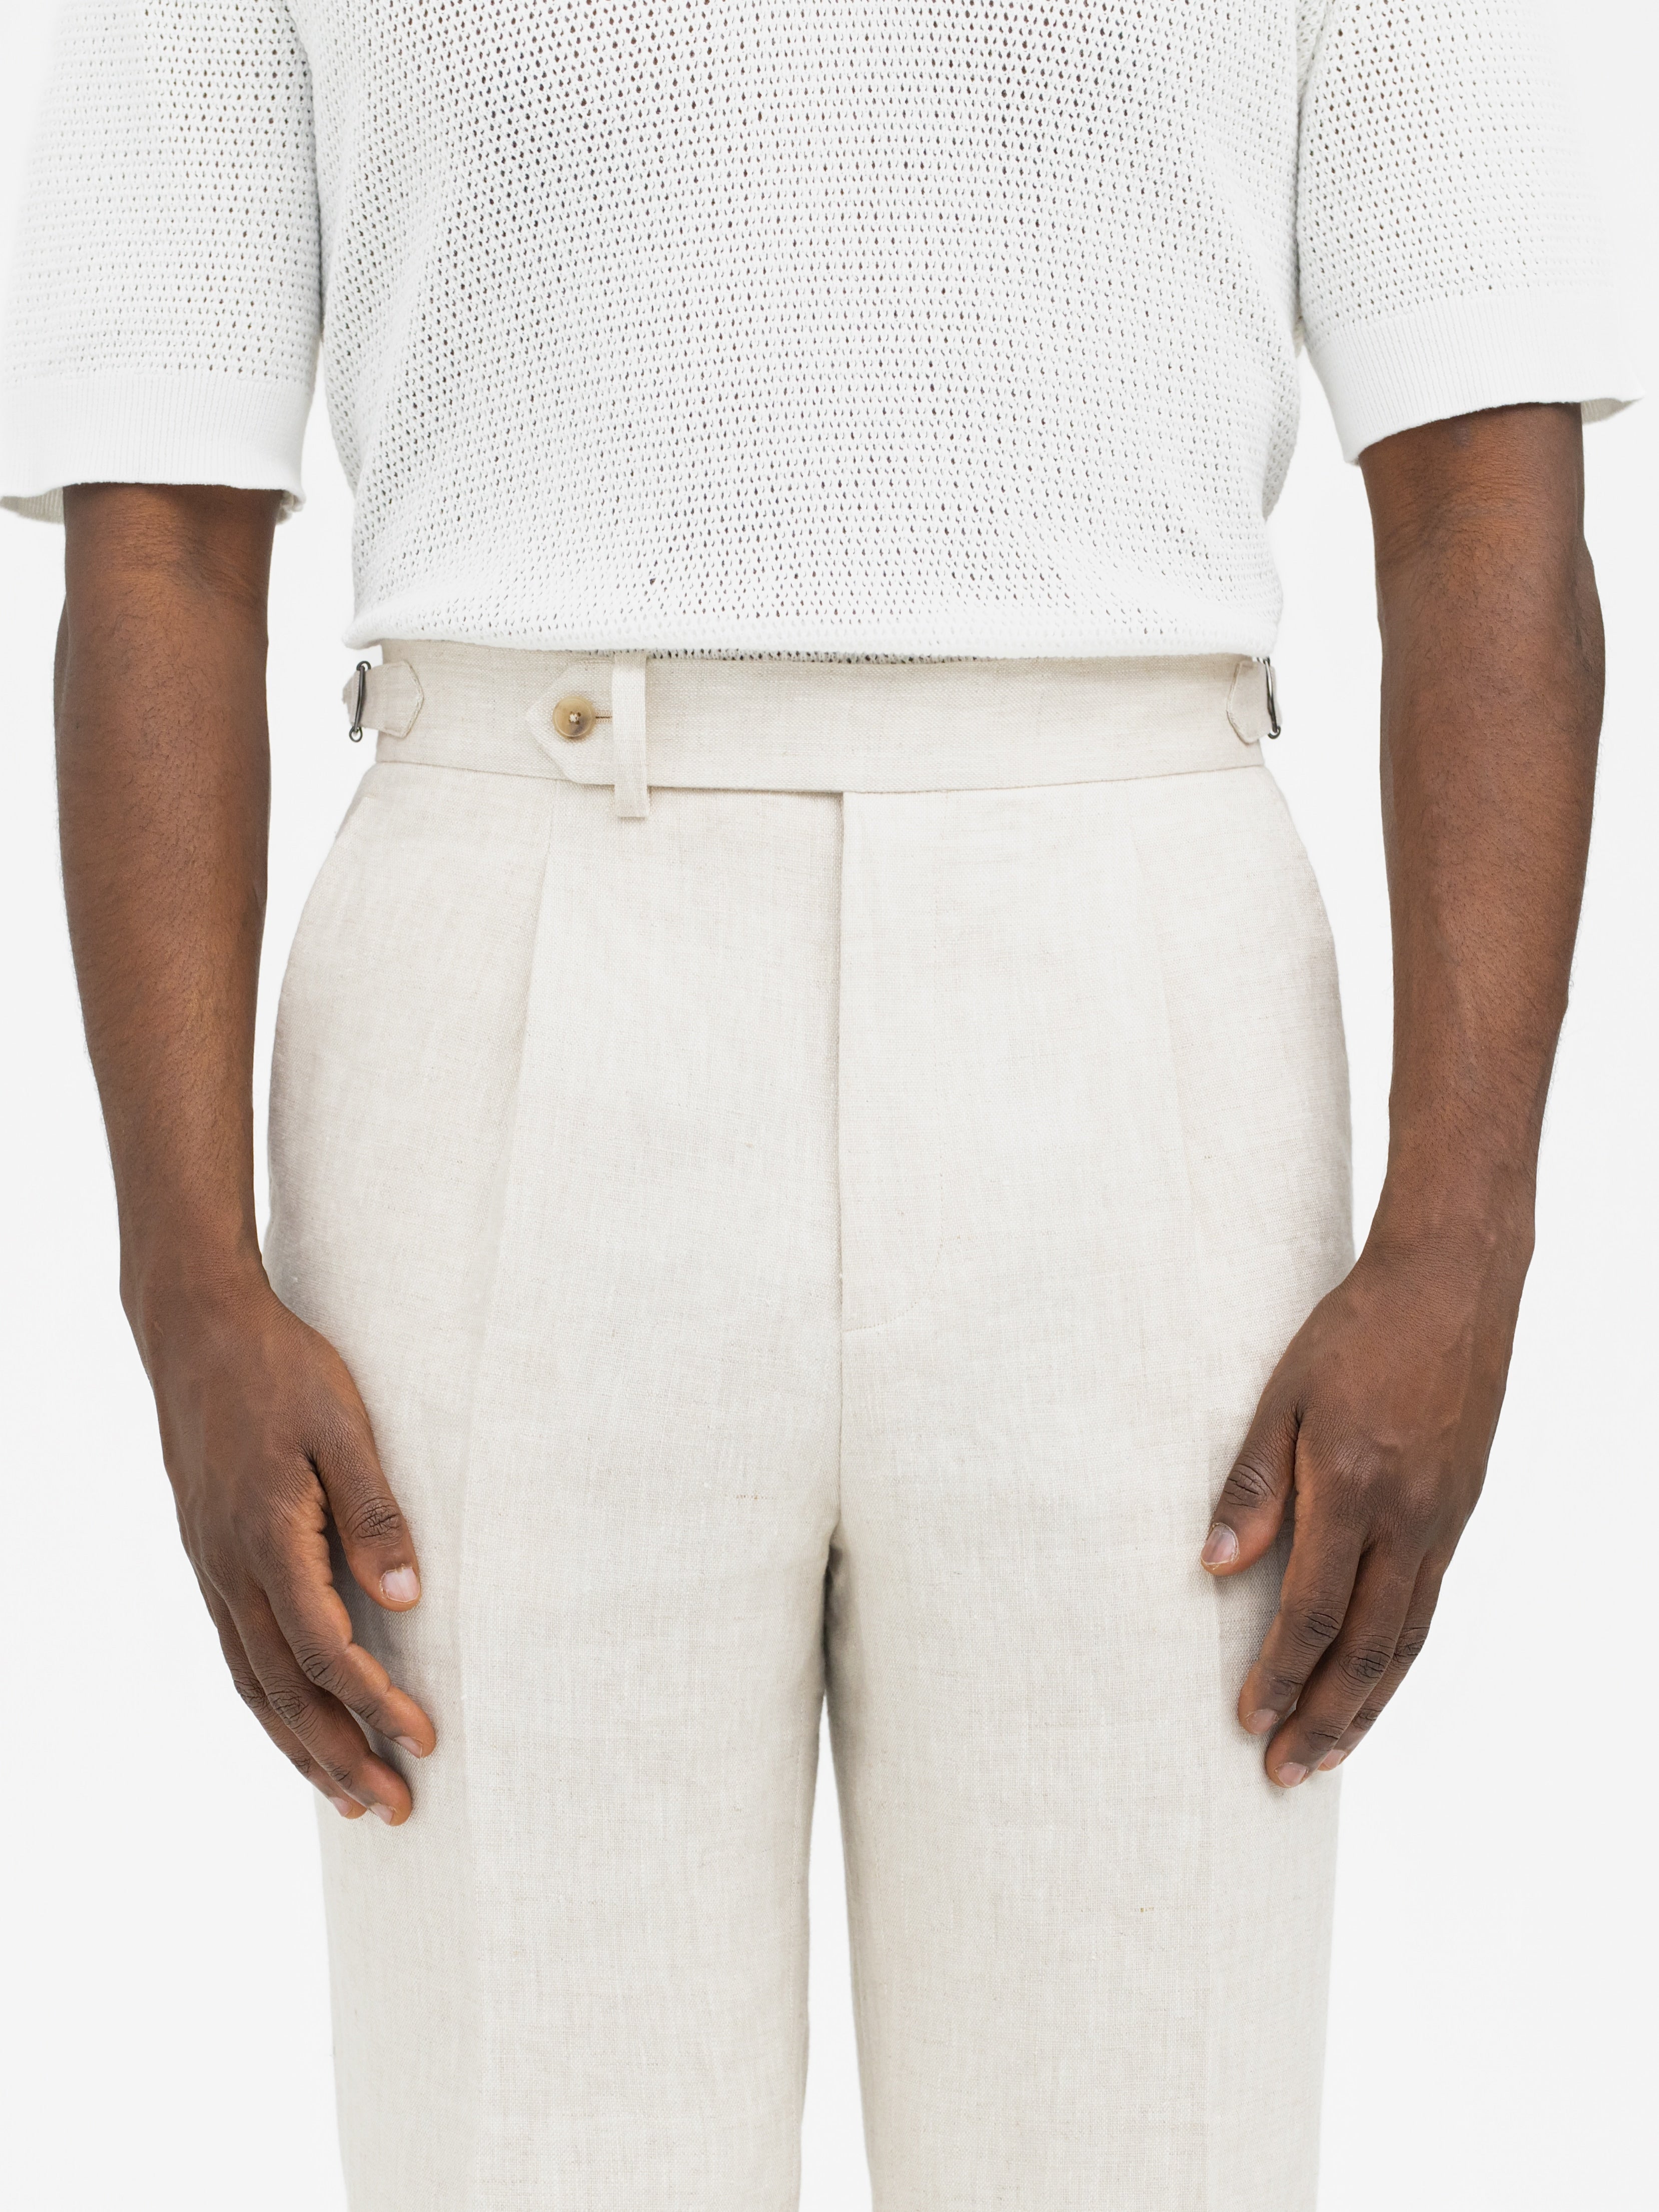
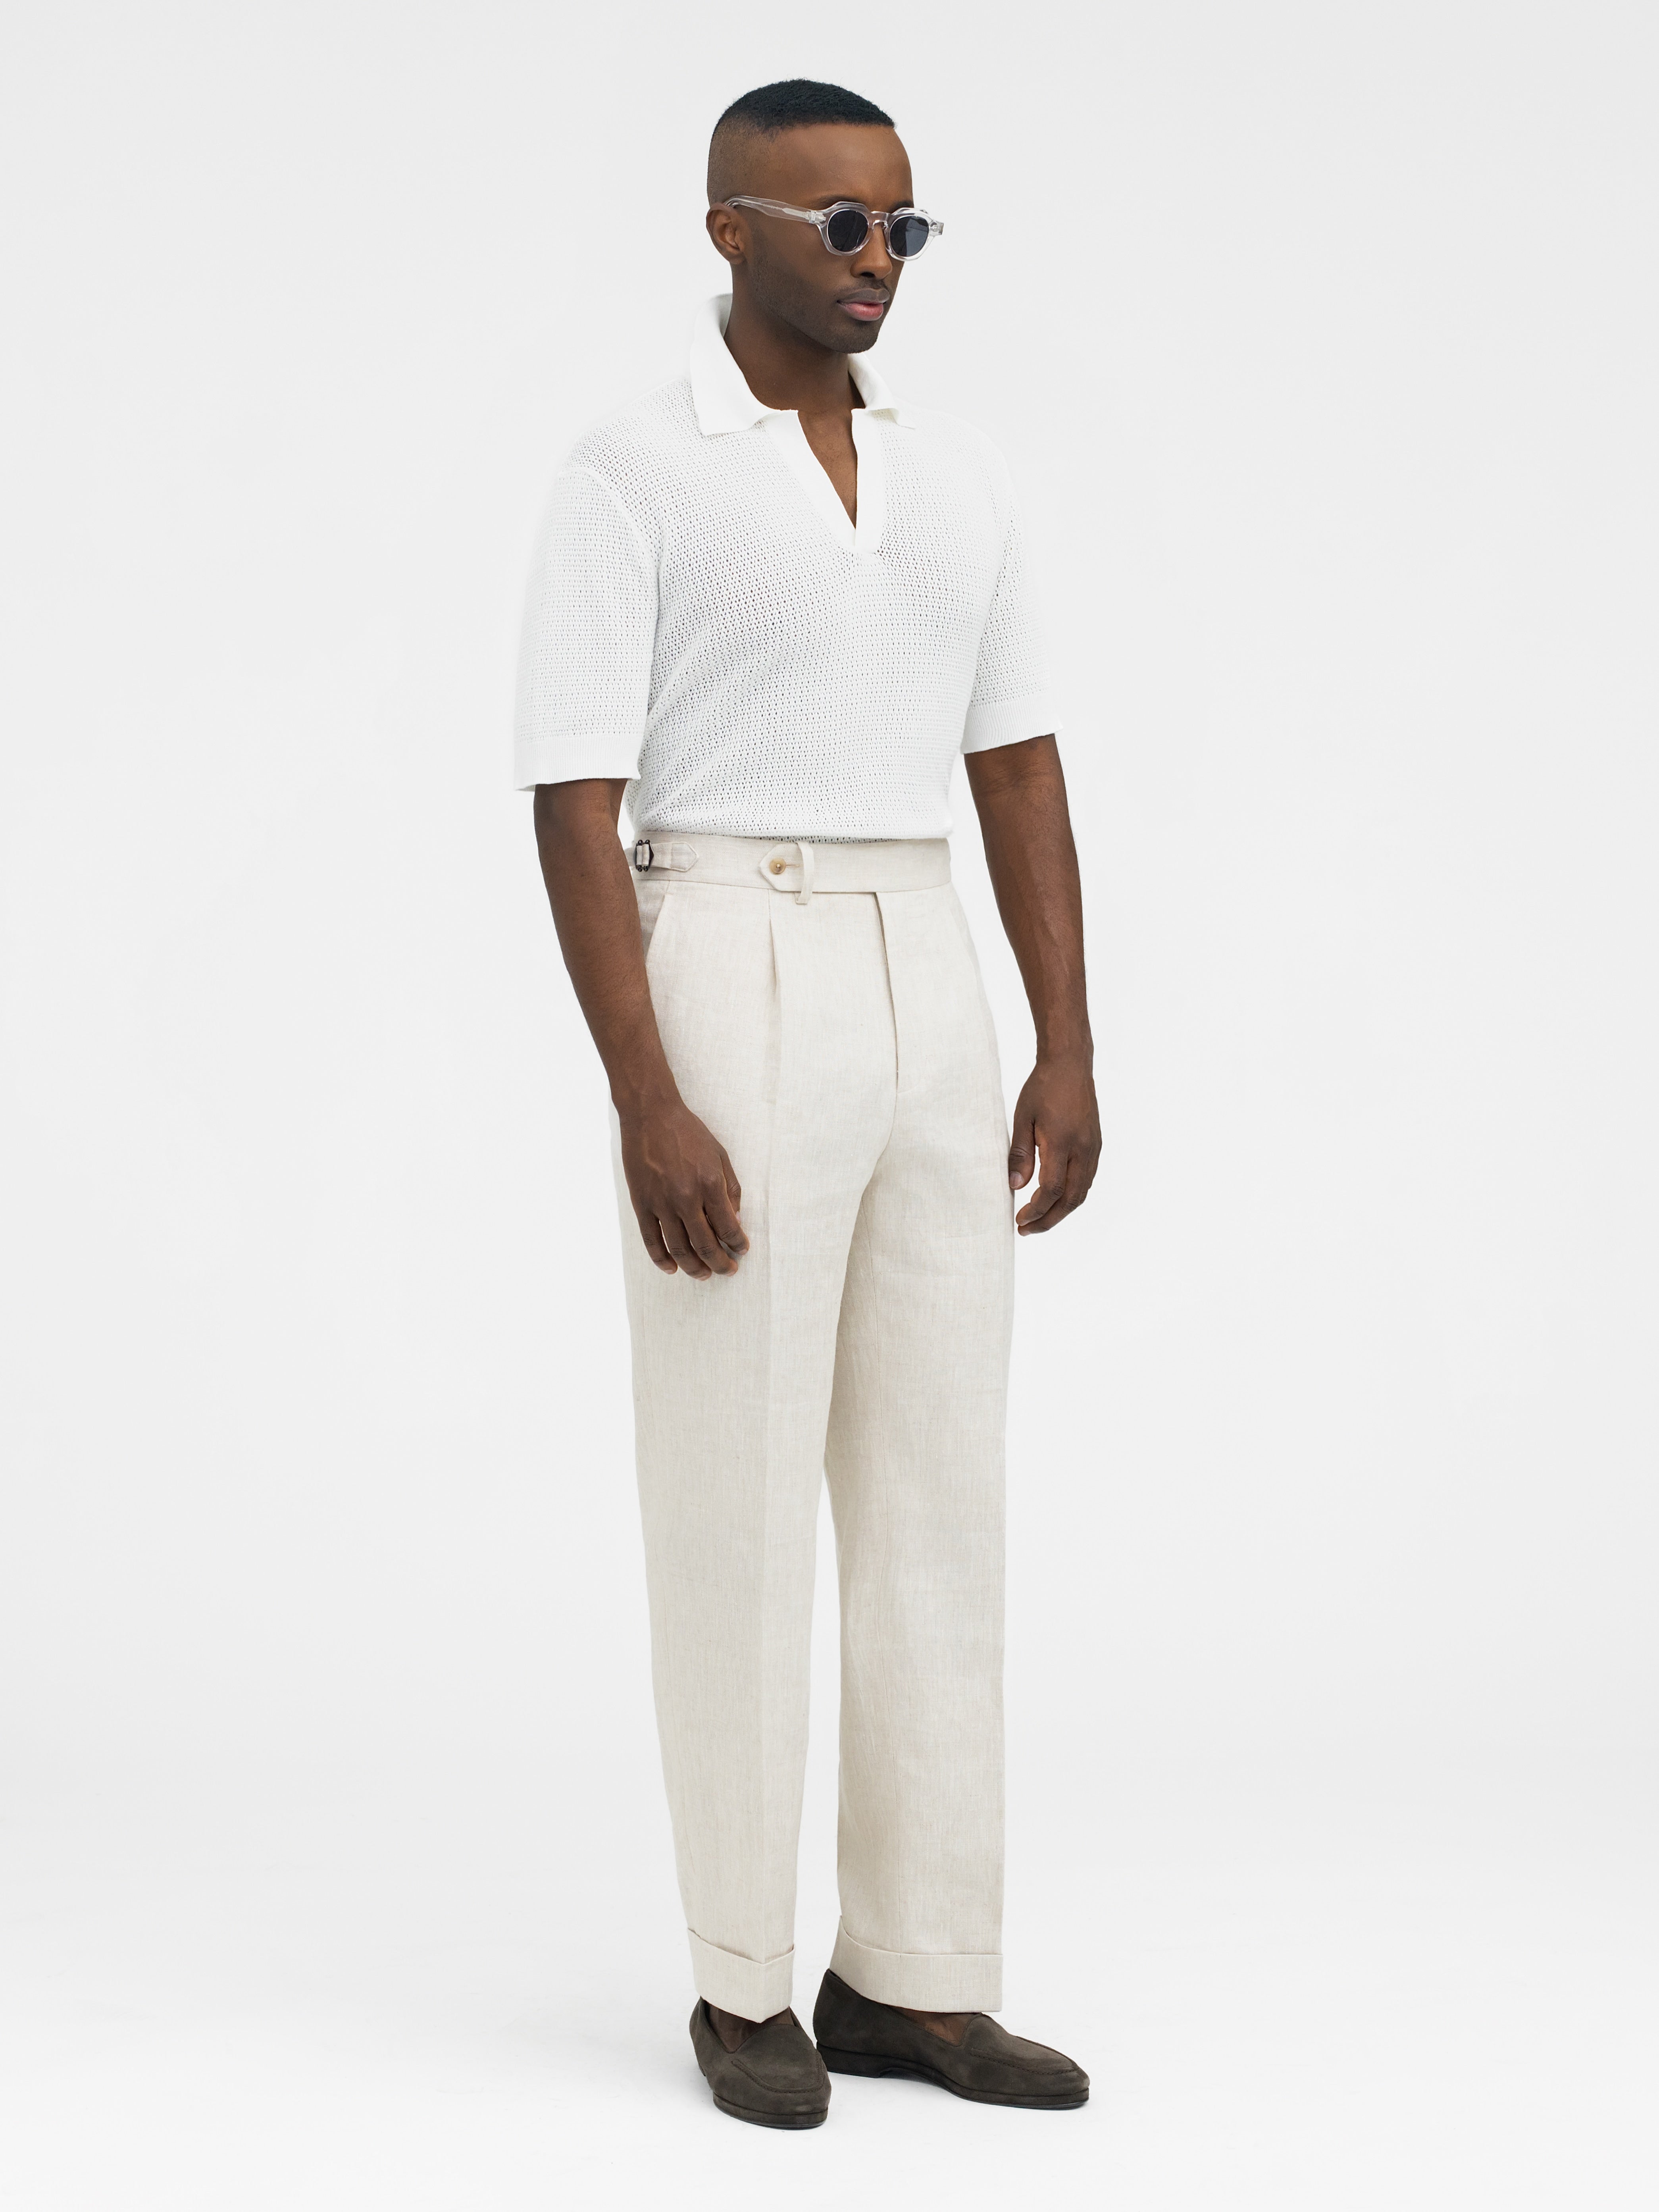
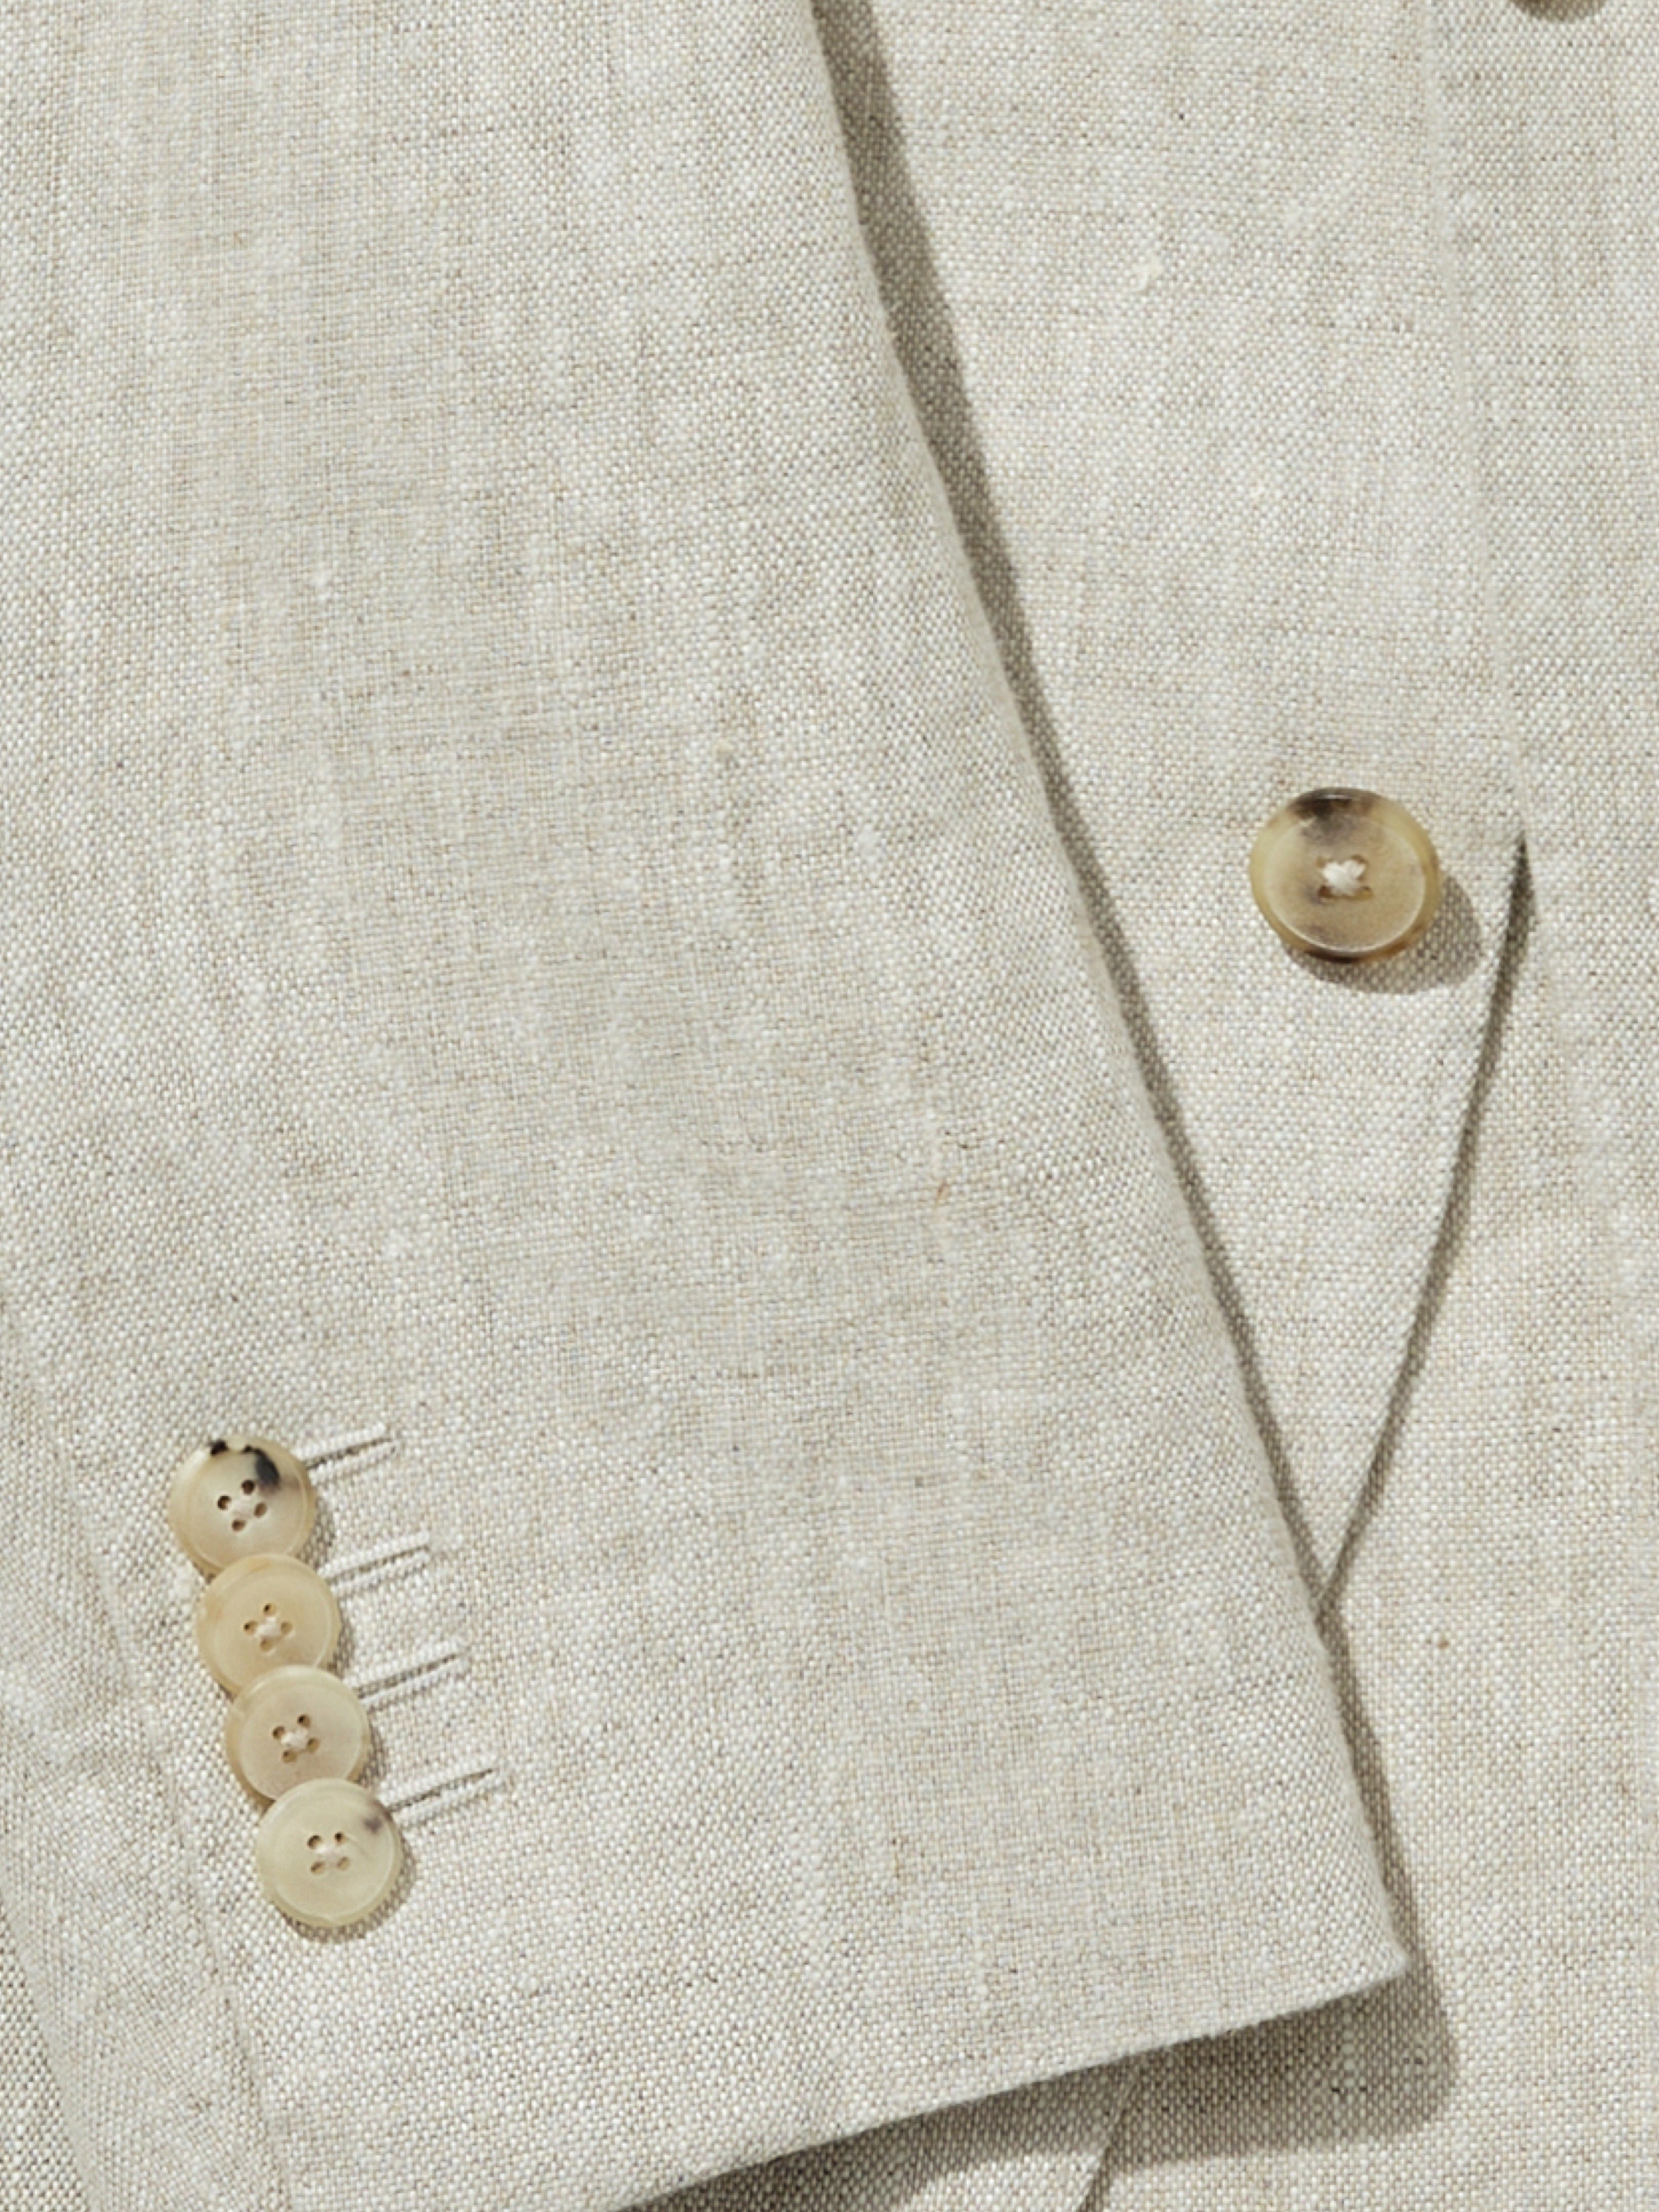
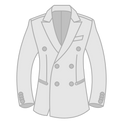
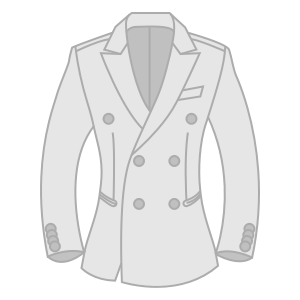
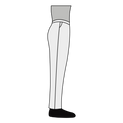
Introducing the Beige Linen Suit – a versatile single-breasted piece made of linen. The fabric is lightweight and breathable, keeping you cool and comfortable when the temperature rises. This particular linen is also more resistant to creasing, making it an ideal choice for summer. Features concave shaped notch lapels, patch pockets and an unconstructed shoulder - all adding to the refined tailored aesthetic of the jacket. The trousers, featuring a high-waisted fit, single pleats and side-adjusters, redefine summer style with effortless sophistication and can be worn separately.
Model is 5' 83" / 178 cm, and is wearing size 48 (EU).
Regular price €548,00
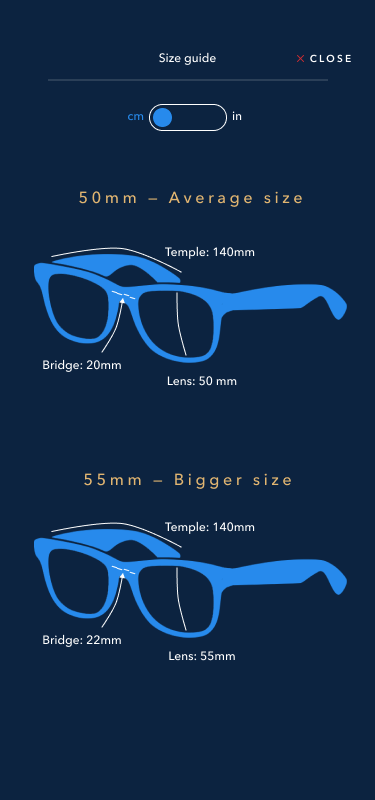
/ Size guide
Use the switch below to display measurements in centimeter or inches.
Have any further questions about fit? Book an appointment with one of our product specialists, and we'll be happy to help.
You can also write to us in the Chat.
Introducing the Beige Linen Suit – a versatile single-breasted piece made of linen. The fabric is lightweight and breathable, keeping you cool and comfortable when the temperature rises. This particular linen is also more resistant to creasing, making it an ideal choice for summer. Features concave shaped notch lapels, patch pockets and an unconstructed shoulder - all adding to the refined tailored aesthetic of the jacket. The trousers, featuring a high-waisted fit, single pleats and side-adjusters, redefine summer style with effortless sophistication and can be worn separately.
Model is 5' 83" / 178 cm, and is wearing size 48 (EU).
DETAILS & FEATURES
- — Single Breasted (2 button)
- — Notch Lapels (11cm/4.3inches)
- — Natural, Unconstructed Shoulder
- — Half Canvas
- — Boat Shaped Chest Pocket
- — Patch Pockets
- — Double Vents
- — Half Lined
- — AMF Stitching (2 millimeter)
- — Lapel Buttonhole (Left side)
- — 3 sleeve buttons, fully functioning
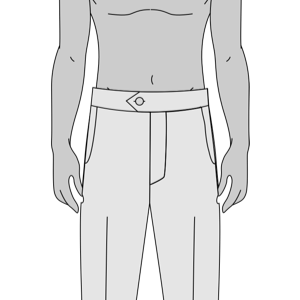
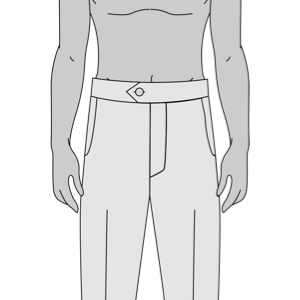
- — Trousers extended waistband closure with visible button
- — Side-adjusters
- — Single Pleats (Outwards)
- — Half Lined
- — Cuffed hem 5 cm
- — Back pockets jetted with buttons
FABRIC & MATERIALS
FABRIC: LINEN
COMPOSITION: 100% LINEN
WEIGHT: 335 GRAM
COLOUR: BEIGE
BUTTONS: HORN BUTTONS
SEASON: SPRING SUMMER
CARE & WASHING
WASHING: DRY CLEAN ONLY
WASHING MACHINE: NO
IRONING: YES
STEAMING: YES
GENERAL GUIDE: STEAM AFTER EACH WEAR
DELIVERY TIME
Estimated delivery time: 3-5 days. To countries within the European Union, we ship with UPS or DHL. To the United States, Canada – and others – we ship with FedEx International. All shipments are fully trackable.
Please note: delivery times may vary depending on the delivery address. Custom made products are produced after you have placed your order, which means the delivery time is estimated between 3-5 weeks.
SUSTAINABILITY
This product was produced responsibly and in accordance with our sustainability goals. Waste reducing and CO2 neutral.

DETAILS
- — Notchlapels (11 cm / 4.3 inches)
- — 2 buttoning
- — Unconstructed natural shoulder
- — Fully functioning sleeve buttons
- — Half canvas
DETAILS
- — Trousers with extended tab
- — Single pleats outwards
- — Cuffed hems (5 cm / 2 inches)
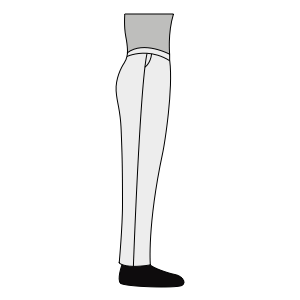
- — High-waisted fit
- — Straight fit
- — Side-adjusters
FABRIC
Linen is a perfect choice for summer suits, known for its breathability and lightweight feel. Made from flax fibers, it allows excellent airflow and wicks moisture, keeping you cool in warm weather. With a distinct texture and crisp finish, this linen offers a relaxed yet sophisticated look for any occasion. Its durability ensures it withstands summer wear while developing a unique patina over time, making it a stylish and practical option for warm-weather suiting.
SELECT YOUR SIZE
REGULAR
(between 167 cm — 187 cm)LONG
(taller than 187 cm)SELECT YOUR SIZE
REGULAR
(between 167 cm — 187 cm)LONG
(taller than 187 cm)New to Custom Made? Press below to get started
GET STARTEDAlready have saved sizes? Log in below
LOGIN FOR SAVED SIZES
I HAVE A JACKET THAT FITS ME WELL
Use measurements from a jacket you already like.

I WANT TO START FROM SCRATCH
Use your body measurements and tell us how you like it to fit.
I HAVE A TROUSER THAT FITS ME WELL
Use measurements from a trouser you already like.
I WANT TO START FROM SCRATCH
Use your body measurements and tell us how you like it to fit.
LOGIN FOR SAVED SIZES
Login if you have an account with us where your measurements are stored from previous orders:
JACKET MEASUREMENTS
Select a jacket size that is your “Base size”, and then make adjustments by pressing plus or minus.
BASE SIZE:

STEP 1:
Place the fully buttoned jacket face down on a flat surface, with the collar and sleeves pointing downward. Smooth out any wrinkles or folds using your hands to ensure the fabric lies flat.

STEP 2:
Start at the top of the armhole seam on the left side, where it meets the shoulder line. Measure straight across to the same point on the right side, keeping the tape flat and aligned with the shoulder fold.

STEP 3:
Final tip — make sure to measure at the shoulder/sleeve intersection. It might be easier in general to measure the shoulder measurement when someone is wearing the jacket.
The shoulders width will affect sleeve length with the same cm / inches amount. Please take this into account when measuring the sleeve length.

STEP 1:
Place the fully buttoned jacket face up on a flat surface, with the collar and sleeves pointing downward. Smooth out any wrinkles or folds using your hands to ensure the fabric lies flat.
STEP 2:
Measure the space between the top darts, then between the bottom darts. The upper section should be 1 cm (or 0.5 in) wider than the lower section. Adjust the jacket’s position until this difference is achieved.
STEP 3:
Begin at the lowest point of the left armhole and measure straight across to the matching point on the right side.
Keep the measuring tape straight.
STEP 1:
Place the fully buttoned jacket face up on a flat surface, with the collar and sleeves pointing downward. Smooth out any wrinkles or folds using your hands to ensure the fabric lies flat.
STEP 2:
From the left edge of the jacket, take a horizontal measurement at the midpoint just below the top button.
Keep the measuring tape straight.
STEP 1:
Place the fully buttoned jacket face up on a flat surface, with the collar pointing upward and the sleeves resting naturally. Smooth out any wrinkles or folds using your hands to ensure the fabric lies flat.
STEP 2:
From the point where the front dart intersects with the pocket, measure straight down by 7 cm / 2.8 in.
STEP 3:
Take a horizontal measurement from the left edge of the jacket straight across to the right edge.
Keep the measuring tape straight.
STEP 1:
Place the fully buttoned jacket face up on a flat surface, with the collar and sleeves pointing downward. Smooth out any wrinkles or folds using your hands to ensure the fabric lies flat.
STEP 2:
Start at the center base of the collar—where the back seam meets the collar—and measure straight down to the bottom hemline.
Keep the measuring tape straight.
STEP 1:
Place the fully buttoned jacket face up on a flat surface, with the collar pointing upward and the sleeves resting naturally. Smooth out any wrinkles or folds using your hands to ensure the fabric lies flat.
STEP 2:
Start at the top of the armhole seam—aligned with the midpoint of the shoulder—and measure straight down along the center of the sleeve to the end of the cuff.
Keep the measuring tape straight.
ADVANCED SIZE OPTIONS
A forward-leaning posture is when the shoulders tilt forward in relation to the torso, making the back hem of the jacket appear shorter than the front. To correct this, the back length of the jacket is increased and the front shortened to create a balanced hemline.
A backward-leaning posture is when the shoulders tilt backward compared to the torso, causing the front hem to look shorter than the back. This is corrected by lengthening the front and shortening the back to even out the hemline.
If the jacket already fits well in this area, no adjustment is needed.
If there is a noticeable gap between the jacket collar and the shirt collar at the sides of the neck, this adjustment will close the gap and bring the collar closer to the neck.
If the collar sits well and you’re satisfied with the fit in this area, no alteration is needed.
Use this tool if a horizontal pleat appears on the upper back. Pinch the fabric and measure how much fabric that has been pinched. That amount should be reduced.
If the fit is good in this area, no alteration is needed.
If there is a noticeable gap between your jacket and shirt collar at the back of the neck, this adjustment raises the jacket collar to eliminate the gap—allowing it to sit flush against your shirt collar for a cleaner fit.
If there is visible pleating beneath the jacket collar—small folds that don’t extend past the distance between the ears—this adjustment lowers the collar slightly to reduce fabric buildup and smooth out the back for a neater fit.
If the jacket fits well in this area and you’re satisfied with how it sits, no adjustments are needed.
Shoulders are considered sloped when they angle downward more than usual. This often leads to creasing around the upper back and armhole area. The issue can be corrected by lowering the shoulder angle in the jacket’s construction.
A shoulder is considered squared when it angles upward more than average. This typically causes a horizontal crease across the upper back, wider than the space between the ears. The fit can be improved by increasing the shoulder angle.
If the fit is good in this area, no alteration is needed.
Makes the front chest of the jacket bigger or smaller. Chest is the base of the jacket. The lapels should lay flat across the chest with an ample amount of fabric to move normally.
If the fit is good in this area, no alteration is needed.
Place the fully buttoned jacket face down on a flat surface, with the collar and sleeves pointing downward. Smooth out any wrinkles or folds using your hands to ensure the fabric lies flat.
Start at the top of the center back seam—where the collar meets the jacket. Measure straight down 15 cm / 6 in and mark this point.
At the 15 cm (6 in) mark, turn the tape measure horizontally and measure from the center seam to the left side seam—where the sleeve meets the back of the jacket.
Keep the measuring tape straight.
Use this alteration if the jacket fits good in the back but is too tight in the front, causing the front panels of the jacket to close.
Use this alteration if the jacket fits good in the back but is too loose in the front, causing the front panels to fly outside the body.
If the fit is good in this area, no alteration is needed.
If the jacket fits well over the stomach but is too tight in the lower back, use this tool. Do not confuse this with an erect posture.
If the jacket fits well over the stomach but is too loose in the lower back, use this tool. Do not confuse this with stooped posture.
If the fit is good in this area, no alteration is needed.
If you feel tightness at the underarm that limits arm movement, this adjustment increases the space at the underarm to ease restriction and improve range of motion.
If the armhole appears too large and fabric bunches around the underarm, this adjustment reduces that space for a closer fit. Note that a slight amount of excess fabric is normal to allow for movement.
If the fit is good in this area, no alteration is needed.
If the armhole and upper sleeve feel too tight and restrict movement, this adjustment will enlarge the armhole circumference, allowing for more room and improved mobility in the upper arm.
If the armhole and upper sleeve appear oversized and excess fabric can be pinched in this area, this adjustment will reduce the armhole circumference—resulting in a slimmer fit through the upper arm.
If the fit is good in this area, no alteration is needed.
When the sleeve is set too far forward relative to the arm’s natural position, diagonal creases may appear on the back of the upper sleeve. This adjustment rotates the sleeve backward on the jacket to better align with the arm.
When the sleeve is set too far backward relative to the arm’s natural position, diagonal creases may appear on the front of the upper sleeve. This adjustment rotates the sleeve forward on the jacket to better align with the arm.
If the fit is good in this area, no alteration is needed.
Keep in mind that a slight amount of excess fabric is normal to allow ease of movement. This change only affects the sleeve’s position—it does not alter the sleeve’s actual size or measurements.
STEP 1:
Place the fully buttoned jacket face up on a flat surface, with the collar and sleeves pointing downward. Smooth out any wrinkles or folds using your hands to ensure the fabric lies flat.
STEP 1:
Starting from the inside edge of the armhole seam (where the armpit is), measure straight across to the edge of the sleeve. Keep the tape measure horizontal for accuracy.
STEP 1:
Measure straight across the cuff at its widest point—edge to edge—using the sleeve hem as your reference.
STEP 1:
Lay the cuff flat with the buttons facing up. Use your hands to gently smooth out any folds and stretch the fabric evenly.
If the jacket flares out, bunches, or shows too much overlap at the front when buttoned, this adjustment will trim away the excess fabric and bring the skirt of the jacket closer to the body. This is a common alteration when there’s a large drop between the chest and waist measurements.
If the bottom of the jacket pulls open when buttoned — creating tension or a gap between the front panels — it’s likely that there isn’t enough fabric in the skirt. This can happen when the waist is relatively wide compared to the chest, or if the jacket is cut too slim through the hips. This alteration adds room to the lower front of the jacket, allowing it to sit cleanly and close without straining or flaring open.
If the fit is good in this area, no alteration is needed.
If the top button sits lower than you prefer, this adjustment will shift all buttons higher on the jacket. Simply specify how many centimeters / inches you would like it to be raised.
If the top button sits higher than you prefer, this adjustment will shift all buttons lower on the jacket. Simply specify how many centimeters / inches you would like it to be lowered
If the fit is good in this area, no alteration is needed.
Place the fully buttoned jacket face up on a flat surface, with the collar pointing upward and the sleeves resting naturally. Smooth out any wrinkles or folds using your hands to ensure the fabric lies flat.
Measure from the highest point where the collar meets the shoulder seam straight down to the bottom edge of the jacket.
If the fit is good in this area, no alteration is needed.
Moces the darts in towards the body
If the fit is good in this area, no alteration is needed.
SIZE PASSPORT NAME:
SELECT BASE JACKET SIZE
SHORT
(between 160 cm — 174 cm)REGULAR
(between 175 cm — 186 cm)LONG
(taller than 187 cm)-
TAILORED FIT
The tailored fit is somewhat V-shaped — meaning that the shoulders are wider, and then the upper waist of the jacket is slightly tapered.
-

CASUAL FIT
The casual fit is more loose throughout the entire jacket — meaning that the shoulders, chest, upper waist and hip are wider. Also, the biceps and sleeve opening are somewhat wider as well.


HOW TO MEASURE
BODY MEASUREMENTS
Enter your body measurements and fit preference. Our AI-system will suggest garment measurements for you. You can make adjustments by pressing plus or minus.
ADVANCED SIZE OPTIONS
FIT
-
If you prefer the jacket to be tight around your waist, pick Slim fit. Otherwise, if you prefer a slightly looser fit around you waist, then pick the Regular fit.

Tailored fit
-
If you prefer the jacket to be tight around your waist, pick Slim fit. Otherwise, if you prefer a slightly looser fit around you waist, then pick the Regular fit.
Casual fit


No break: Trousers cut-off just above the shoes.
Half break: Trousers slightly touches the shoes.
Full break: Trousers rest on the shoes.
BASE SIZE:
STEP 1:
Place the fully buttoned jacket face down on a flat surface, with the collar and sleeves pointing downward. Smooth out any wrinkles or folds using your hands to ensure the fabric lies flat.
STEP 2:
Start at the top of the armhole seam on the left side, where it meets the shoulder line. Measure straight across to the same point on the right side, keeping the tape flat and aligned with the shoulder fold.
STEP 3:
Final tip — make sure to measure at the shoulder/sleeve intersection. It might be easier in general to measure the shoulder measurement when someone is wearing the jacket.
The shoulders width will affect sleeve length with the same cm / inches amount. Please take this into account when measuring the sleeve length.
STEP 1:
Place the fully buttoned jacket face up on a flat surface, with the collar and sleeves pointing downward. Smooth out any wrinkles or folds using your hands to ensure the fabric lies flat.
STEP 2:
Measure the space between the top darts, then between the bottom darts. The upper section should be 1 cm (or 0.5 in) wider than the lower section. Adjust the jacket’s position until this difference is achieved.
STEP 3:
Begin at the lowest point of the left armhole and measure straight across to the matching point on the right side.
Keep the measuring tape straight.
STEP 1:
Place the fully buttoned jacket face up on a flat surface, with the collar and sleeves pointing downward. Smooth out any wrinkles or folds using your hands to ensure the fabric lies flat.
STEP 2:
From the left edge of the jacket, take a horizontal measurement at the midpoint just below the top button.
Keep the measuring tape straight.
STEP 1:
Place the fully buttoned jacket face up on a flat surface, with the collar pointing upward and the sleeves resting naturally. Smooth out any wrinkles or folds using your hands to ensure the fabric lies flat.
STEP 2:
From the point where the front dart intersects with the pocket, measure straight down by 7 cm / 2.8 in.
STEP 3:
Take a horizontal measurement from the left edge of the jacket straight across to the right edge.
Keep the measuring tape straight.
STEP 1:
Place the fully buttoned jacket face up on a flat surface, with the collar and sleeves pointing downward. Smooth out any wrinkles or folds using your hands to ensure the fabric lies flat.
STEP 2:
Start at the center base of the collar—where the back seam meets the collar—and measure straight down to the bottom hemline.
Keep the measuring tape straight.
STEP 1:
Place the fully buttoned jacket face up on a flat surface, with the collar pointing upward and the sleeves resting naturally. Smooth out any wrinkles or folds using your hands to ensure the fabric lies flat.
STEP 2:
Start at the top of the armhole seam—aligned with the midpoint of the shoulder—and measure straight down along the center of the sleeve to the end of the cuff.
Keep the measuring tape straight.
STEP 1:
Place the fully buttoned jacket face up on a flat surface, with the collar pointing upward and the sleeves resting naturally. Smooth out any wrinkles or folds using your hands to ensure the fabric lies flat.
STEP 2:
Start at the top of the armhole seam—aligned with the midpoint of the shoulder—and measure straight down along the center of the sleeve to the end of the cuff.
Keep the measuring tape straight.
ADVANCED SIZE OPTIONS
A forward-leaning posture is when the shoulders tilt forward in relation to the torso, making the back hem of the jacket appear shorter than the front. To correct this, the back length of the jacket is increased and the front shortened to create a balanced hemline.
A backward-leaning posture is when the shoulders tilt backward compared to the torso, causing the front hem to look shorter than the back. This is corrected by lengthening the front and shortening the back to even out the hemline.
If the jacket already fits well in this area, no adjustment is needed.
If there is a noticeable gap between the jacket collar and the shirt collar at the sides of the neck, this adjustment will close the gap and bring the collar closer to the neck.
If the collar sits well and you’re satisfied with the fit in this area, no alteration is needed.
Use this tool if a horizontal pleat appears on the upper back. Pinch the fabric and measure how much fabric that has been pinched. That amount should be reduced.
If the fit is good in this area, no alteration is needed.
If there is a noticeable gap between your jacket and shirt collar at the back of the neck, this adjustment raises the jacket collar to eliminate the gap—allowing it to sit flush against your shirt collar for a cleaner fit.
If there is visible pleating beneath the jacket collar—small folds that don’t extend past the distance between the ears—this adjustment lowers the collar slightly to reduce fabric buildup and smooth out the back for a neater fit.
If the jacket fits well in this area and you’re satisfied with how it sits, no adjustments are needed.
Shoulders are considered sloped when they angle downward more than usual. This often leads to creasing around the upper back and armhole area. The issue can be corrected by lowering the shoulder angle in the jacket’s construction.
A shoulder is considered squared when it angles upward more than average. This typically causes a horizontal crease across the upper back, wider than the space between the ears. The fit can be improved by increasing the shoulder angle.
If the fit is good in this area, no alteration is needed.
Shoulders are considered sloped when they angle downward more than usual. This often leads to creasing around the upper back and armhole area. The issue can be corrected by lowering the shoulder angle in the jacket’s construction.
A shoulder is considered squared when it angles upward more than average. This typically causes a horizontal crease across the upper back, wider than the space between the ears. The fit can be improved by increasing the shoulder angle.
If the fit is good in this area, no alteration is needed.
Makes the front chest of the jacket bigger or smaller. Chest is the base of the jacket. The lapels should lay flat across the chest with an ample amount of fabric to move normally.
If the fit is good in this area, no alteration is needed.
Place the fully buttoned jacket face down on a flat surface, with the collar and sleeves pointing downward. Smooth out any wrinkles or folds using your hands to ensure the fabric lies flat.
Start at the top of the center back seam—where the collar meets the jacket. Measure straight down 15 cm / 6 in and mark this point.
At the 15 cm (6 in) mark, turn the tape measure horizontally and measure from the center seam to the left side seam—where the sleeve meets the back of the jacket.
Keep the measuring tape straight.
Use this alteration if the jacket fits good in the back but is too tight in the front, causing the front panels of the jacket to close.
Use this alteration if the jacket fits good in the back but is too loose in the front, causing the front panels to fly outside the body.
If the fit is good in this area, no alteration is needed.
If the jacket fits well over the stomach but is too tight in the lower back, use this tool. Do not confuse this with an erect posture.
If the jacket fits well over the stomach but is too loose in the lower back, use this tool. Do not confuse this with stooped posture.
If the fit is good in this area, no alteration is needed.
If you feel tightness at the underarm that limits arm movement, this adjustment increases the space at the underarm to ease restriction and improve range of motion.
If the armhole appears too large and fabric bunches around the underarm, this adjustment reduces that space for a closer fit. Note that a slight amount of excess fabric is normal to allow for movement.
If the fit is good in this area, no alteration is needed.
If the armhole and upper sleeve feel too tight and restrict movement, this adjustment will enlarge the armhole circumference, allowing for more room and improved mobility in the upper arm.
If the armhole and upper sleeve appear oversized and excess fabric can be pinched in this area, this adjustment will reduce the armhole circumference—resulting in a slimmer fit through the upper arm.
If the fit is good in this area, no alteration is needed.
When the sleeve is set too far forward relative to the arm’s natural position, diagonal creases may appear on the back of the upper sleeve. This adjustment rotates the sleeve backward on the jacket to better align with the arm.
When the sleeve is set too far backward relative to the arm’s natural position, diagonal creases may appear on the front of the upper sleeve. This adjustment rotates the sleeve forward on the jacket to better align with the arm.
If the fit is good in this area, no alteration is needed.
Keep in mind that a slight amount of excess fabric is normal to allow ease of movement. This change only affects the sleeve’s position—it does not alter the sleeve’s actual size or measurements.
STEP 1:
Place the fully buttoned jacket face up on a flat surface, with the collar and sleeves pointing downward. Smooth out any wrinkles or folds using your hands to ensure the fabric lies flat.
STEP 1:
Starting from the inside edge of the armhole seam (where the armpit is), measure straight across to the edge of the sleeve. Keep the tape measure horizontal for accuracy.
STEP 1:
Measure straight across the cuff at its widest point—edge to edge—using the sleeve hem as your reference.
STEP 1:
Lay the cuff flat with the buttons facing up. Use your hands to gently smooth out any folds and stretch the fabric evenly.
If the jacket flares out, bunches, or shows too much overlap at the front when buttoned, this adjustment will trim away the excess fabric and bring the skirt of the jacket closer to the body. This is a common alteration when there’s a large drop between the chest and waist measurements.
If the bottom of the jacket pulls open when buttoned — creating tension or a gap between the front panels — it’s likely that there isn’t enough fabric in the skirt. This can happen when the waist is relatively wide compared to the chest, or if the jacket is cut too slim through the hips. This alteration adds room to the lower front of the jacket, allowing it to sit cleanly and close without straining or flaring open.
If the fit is good in this area, no alteration is needed.
If the top button sits lower than you prefer, this adjustment will shift all buttons higher on the jacket. Simply specify how many centimeters / inches you would like it to be raised.
If the top button sits higher than you prefer, this adjustment will shift all buttons lower on the jacket. Simply specify how many centimeters / inches you would like it to be lowered
If the fit is good in this area, no alteration is needed.
Place the fully buttoned jacket face up on a flat surface, with the collar pointing upward and the sleeves resting naturally. Smooth out any wrinkles or folds using your hands to ensure the fabric lies flat.
Measure from the highest point where the collar meets the shoulder seam straight down to the bottom edge of the jacket.
If the fit is good in this area, no alteration is needed.
Moces the darts in towards the body
If the fit is good in this area, no alteration is needed.
SIZE PASSPORT NAME:
HOW TO MEASURE
TROUSERS MEASUREMENTS
Select a trousers size that is your “Base size”, and then make adjustments by pressing plus or minus. Also, specify your fit preference.
BASE SIZE:
STEP 1:
Place the trousers flat on a table with the waistband buttoned and aligned. Smooth out any wrinkles but do not stretch the fabric.
STEP 2:
Measure 1 cm / 0.5 inches down from the top edge of the waistband. This is where you will begin and end your waist measurement. Mark or note this point for accuracy.
STEP 3:
Starting from the marked point on the left edge of the waistband, measure along the top curve of the waistband — not straight across. Hold the tape at the center to keep it steady, then continue to the opposite edge, ending exactly at the same 1 cm depth. Be sure to follow the natural curve of the waistband the entire way.
Make sure to measure at the broadest part and keep the tape measure tight without any looseness.
STEP 1:
Place the trousers flat on a table with the waistband buttoned and aligned. Smooth out any wrinkles but do not stretch the fabric.
STEP 2:
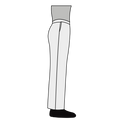
Start at the crotch seam — where the inseams intersect — and measure straight up along the front, following the curve of the fabric all the way to the top edge of the waistband. Do not stop at the seam below the waistband — the waistband is included in the measurement.
Make sure to measure at the broadest part and keep the tape measure tight without any looseness.
STEP 1:
Lay the trousers flat, face down, fully buttoned and zipped.
STEP 2:
Start measuring from the crotch seam (where the inseams intersect).
STEP 3:
Run the measuring tape up along the back seam, all the way to the very top edge of the waistband. This is the most important part: the waistband is included in the back rise measurement — do not stop at the seam below it.).
Make sure to measure at the broadest part and keep the tape measure tight without any looseness.
STEP 1:
Place the trousers flat on a table with the waistband buttoned and aligned. Smooth out any wrinkles but do not stretch the fabric.
STEP 2:
Measure from the bottom edge of the side pocket to the seam underneath the front fly — in a slight diagonal angle. Then measure from the seam underneath the front fly to the other side pocket edge. If the trousers have pleats, pull both sides so the pleats lay flat and open. This value will give you the half hip measurment. Double the amount to get the full hip measurment.
Make sure to measure at the broadest part and keep the tape measure tight without any looseness.
STEP 1:
Lay the trousers flat and smooth out any wrinkles. Make sure they are fully buttoned and zipped.
STEP 2:
Locate the crotch seam — where the inseams meet. Measure 8 cm / 3 inches straight down from the crotch seam along the inseam.
STEP 3:
At that point, measure straight across the leg from edge to edge.
This gives you the half thigh measurement. Double it to get the full thigh circumference.
Make sure to measure at the broadest part and keep the tape measure tight without any looseness.
STEP 1:
Lay the trousers flat and smooth out any wrinkles. Make sure they are fully buttoned and zipped.
STEP 2:
Locate the crotch seam — where the inseams meet. Measure 45 cm / 17.5 inches straight down from the crotch seam along the inseam.
STEP 3:
At that point, measure straight across the leg from edge to edge. This gives you the half calf measurement.
Make sure to measure at the broadest part and keep the tape measure tight without any looseness.
STEP 1:
Lay the trousers flat and smooth out any wrinkles. Make sure they are fully buttoned and zipped.
STEP 2:
Measure straight across the bottom edge of the trouser leg, from one side of the hem to the other. This gives you the leg opening.
Make sure to measure at the broadest part and keep the tape measure tight without any looseness.
STEP 1:
Lay the trousers flat and smooth out any wrinkles. Make sure they are fully buttoned and zipped.
STEP 2:
Fold one leg over the waistband to fully expose the crotch seam. Use your hands to smooth and flatten the fabric along the inseam.
STEP 3:
Start at the point where the front and back inseams meet (the crotch). Measure straight down along the inner seam to the bottom edge of the hem.
Make sure to measure at the broadest part and keep the tape measure tight without any looseness.
ADVANCED SIZE OPTIONS
If the trousers fit well through the seat and crotch but feel tight or are pulling at the back seam — causing discomfort or limiting movement — this alteration adds fabric to the crotch area. It reduces tension and allows for better mobility. Note: Small adjustments make a big difference.
If there’s extra fabric hanging below the seat — causing sagging or a loose fit in the crotch — this alteration removes fabric to clean up the shape and bring the trousers closer to the body. Note: Less is more — even minor changes improve the fit.
If the fit is good in this area, no alteration is needed.
Straight hips (most common): The waistband sits evenly on the body — level from front to back — which is typical for most individuals. This is the default cut used in standard trouser patterns.
Forward hips: The pelvis tilts forward, causing the back of the waistband to sit higher than the front. This posture often requires trousers to be cut with a higher back rise and lower front rise to follow the body’s natural angle and ensure the waistband stays level when worn.
SIZE PASSPORT NAME:
SELECT BASE TROUSERS SIZE
SHORT
(between 160 cm - 174 cm)REGULAR
(between 175 cm - 186 cm)LONG
(taller than 187 cm)-
TAPERED FIT
Trousers become tighter/more narrow in the leg opening.
-
STRAIGHT FIT
Trousers are straight meaning that trousers have similar width around the thighs, calves and leg opening.
-

WIDE FIT
Trousers are wide in both thigh and leg opening - creating a straight cut - yet with a wider fit.


HOW TO MEASURE
BODY MEASUREMENTS
Enter your body measurements and fit preference. Our AI system will suggest garment measurements for you. You can make adjustments by pressing plus or minus.
ADVANCED SIZE OPTIONS
Rise
-
This refers to where the trousers' waistline is positioned on your body. If you prefer a high-waisted fit, then choose High rise. If you wish the rise to be neither low nor high, then choose Medium rise. Lastly, if you want the trousers to be seated low, then pick Low rise.
Low
-
This refers to where the trousers' waistline is positioned on your body. If you prefer a high-waisted fit, then choose High rise. If you wish the rise to be neither low nor high, then choose Medium rise. Lastly, if you want the trousers to be seated low, then pick Low rise.
Medium
-
This refers to where the trousers' waistline is positioned on your body. If you prefer a high-waisted fit, then choose High rise. If you wish the rise to be neither low nor high, then choose Medium rise. Lastly, if you want the trousers to be seated low, then pick Low rise.
High


Shape
-
Straight cut: Trousers are straight meaning that trousers have similar width around the thighs, calves and leg opening.
Tapered cut: Trousers become tighter/more narrow in the leg opening.
Boot cut: Trousers become much wider in the leg opening compared to the thigh.
Wide cut: Trousers are wide in both thigh and leg opening - creating a straight cut - yet with a wider fit.
Extra Slim cut: Trousers are extra slim around the thighs, calves and leg opening.

Straight
-
Straight cut: Trousers are straight meaning that trousers have similar width around the thighs, calves and leg opening.
Tapered cut: Trousers become tighter/more narrow in the leg opening.
Boot cut: Trousers become much wider in the leg opening compared to the thigh.
Wide cut: Trousers are wide in both thigh and leg opening - creating a straight cut - yet with a wider fit.
Extra Slim cut: Trousers are extra slim around the thighs, calves and leg opening.
Tapered
-
Straight cut: Trousers are straight meaning that trousers have similar width around the thighs, calves and leg opening.
Tapered cut: Trousers become tighter/more narrow in the leg opening.
Boot cut: Trousers become much wider in the leg opening compared to the thigh.
Wide cut: Trousers are wide in both thigh and leg opening - creating a straight cut - yet with a wider fit.
Extra Slim cut: Trousers are extra slim around the thighs, calves and leg opening.

Wide


BASE SIZE:
STEP 1:
Place the trousers flat on a table with the waistband buttoned and aligned. Smooth out any wrinkles but do not stretch the fabric.
STEP 2:
Measure 1 cm / 0.5 inches down from the top edge of the waistband. This is where you will begin and end your waist measurement. Mark or note this point for accuracy.
STEP 3:
Starting from the marked point on the left edge of the waistband, measure along the top curve of the waistband — not straight across. Hold the tape at the center to keep it steady, then continue to the opposite edge, ending exactly at the same 1 cm depth. Be sure to follow the natural curve of the waistband the entire way.
Make sure to measure at the broadest part and keep the tape measure tight without any looseness.
STEP 1:
Place the trousers flat on a table with the waistband buttoned and aligned. Smooth out any wrinkles but do not stretch the fabric.
STEP 2:
Start at the crotch seam — where the inseams intersect — and measure straight up along the front, following the curve of the fabric all the way to the top edge of the waistband. Do not stop at the seam below the waistband — the waistband is included in the measurement.
Make sure to measure at the broadest part and keep the tape measure tight without any looseness.
STEP 1:
Lay the trousers flat, face down, fully buttoned and zipped.
STEP 2:
Start measuring from the crotch seam (where the inseams intersect).
STEP 3:
Run the measuring tape up along the back seam, all the way to the very top edge of the waistband. This is the most important part: the waistband is included in the back rise measurement — do not stop at the seam below it.).
Make sure to measure at the broadest part and keep the tape measure tight without any looseness.
STEP 1:
Place the trousers flat on a table with the waistband buttoned and aligned. Smooth out any wrinkles but do not stretch the fabric.
STEP 2:
Measure from the bottom edge of the side pocket to the seam underneath the front fly — in a slight diagonal angle. Then measure from the seam underneath the front fly to the other side pocket edge. If the trousers have pleats, pull both sides so the pleats lay flat and open. This value will give you the half hip measurment. Double the amount to get the full hip measurment.
Make sure to measure at the broadest part and keep the tape measure tight without any looseness.
STEP 1:
Lay the trousers flat and smooth out any wrinkles. Make sure they are fully buttoned and zipped.
STEP 2:
Locate the crotch seam — where the inseams meet. Measure 8 cm / 3 inches straight down from the crotch seam along the inseam.
STEP 3:
At that point, measure straight across the leg from edge to edge.
This gives you the half thigh measurement. Double it to get the full thigh circumference.
Make sure to measure at the broadest part and keep the tape measure tight without any looseness.
STEP 1:
Lay the trousers flat and smooth out any wrinkles. Make sure they are fully buttoned and zipped.
STEP 2:
Locate the crotch seam — where the inseams meet. Measure 45 cm / 17.5 inches straight down from the crotch seam along the inseam.
STEP 3:
At that point, measure straight across the leg from edge to edge. This gives you the half calf measurement.
Make sure to measure at the broadest part and keep the tape measure tight without any looseness.
STEP 1:
Lay the trousers flat and smooth out any wrinkles. Make sure they are fully buttoned and zipped.
STEP 2:
Measure straight across the bottom edge of the trouser leg, from one side of the hem to the other. This gives you the leg opening.
Make sure to measure at the broadest part and keep the tape measure tight without any looseness.
STEP 1:
Lay the trousers flat and smooth out any wrinkles. Make sure they are fully buttoned and zipped.
STEP 2:
Fold one leg over the waistband to fully expose the crotch seam. Use your hands to smooth and flatten the fabric along the inseam.
STEP 3:
Start at the point where the front and back inseams meet (the crotch). Measure straight down along the inner seam to the bottom edge of the hem.
Make sure to measure at the broadest part and keep the tape measure tight without any looseness.
ADVANCED SIZE OPTIONS
If the trousers fit well through the seat and crotch but feel tight or are pulling at the back seam — causing discomfort or limiting movement — this alteration adds fabric to the crotch area. It reduces tension and allows for better mobility. Note: Small adjustments make a big difference.
If there’s extra fabric hanging below the seat — causing sagging or a loose fit in the crotch — this alteration removes fabric to clean up the shape and bring the trousers closer to the body. Note: Less is more — even minor changes improve the fit.
If the fit is good in this area, no alteration is needed.
Straight hips (most common): The waistband sits evenly on the body — level from front to back — which is typical for most individuals. This is the default cut used in standard trouser patterns.
Forward hips: The pelvis tilts forward, causing the back of the waistband to sit higher than the front. This posture often requires trousers to be cut with a higher back rise and lower front rise to follow the body’s natural angle and ensure the waistband stays level when worn.